

Because of covid, we can’t go camping so I brought Seven (our Bounder 35E) home and got to work on the new flooring project that I have been putting off for a couple of years now.
Before Work Begins
• The colour and pattern decisions were easy enough – what’s on sale.
• I decided to replace the carpet in the slideout with vinyl but without removing the dinette seats to save some work. This was not my best idea. More later.
• I decided to replace the toilet too.
• I decided to extend the vinyl up under the dash as far as I could as a noise barrier. Good idea.
• I decided to end the carpet behind the driver & co-pilot’s seats rather than near the entry door.
• I found the doghouse fibreglass was broken so I repaired and reinforced it.
I bought a roll-end chunk of carpet, ½” underpad, 36” x 6” so-called luxury vinyl planking, and all the assorted supporting hardware like glue, knife blades, etc., then brought Seven home and got to work.
About 20 hours of the project time was preparation:
• I removed the driver and co-pilot seats, couch, and reclining chair,
• I ripped out all the carpeting and vinyl from the bedroom doorway to the front cap,
• I pulled up the toilet and bullnose around the platform and around the entry stairs,
• I lifted the bedroom carpet at the entry door and made a clean straight cut in preparation for new metal carpet to vinyl transition piece,
• The plywood sub-floor was in excellent shape and I only had to fill in small two low spots,
• I ground down a few carriage bolts that were proud of the floor.
• I pulled hundreds of staples out.
• I removed the doghouse and discovered it was broken. I repaired it after scraping the glue residue off.
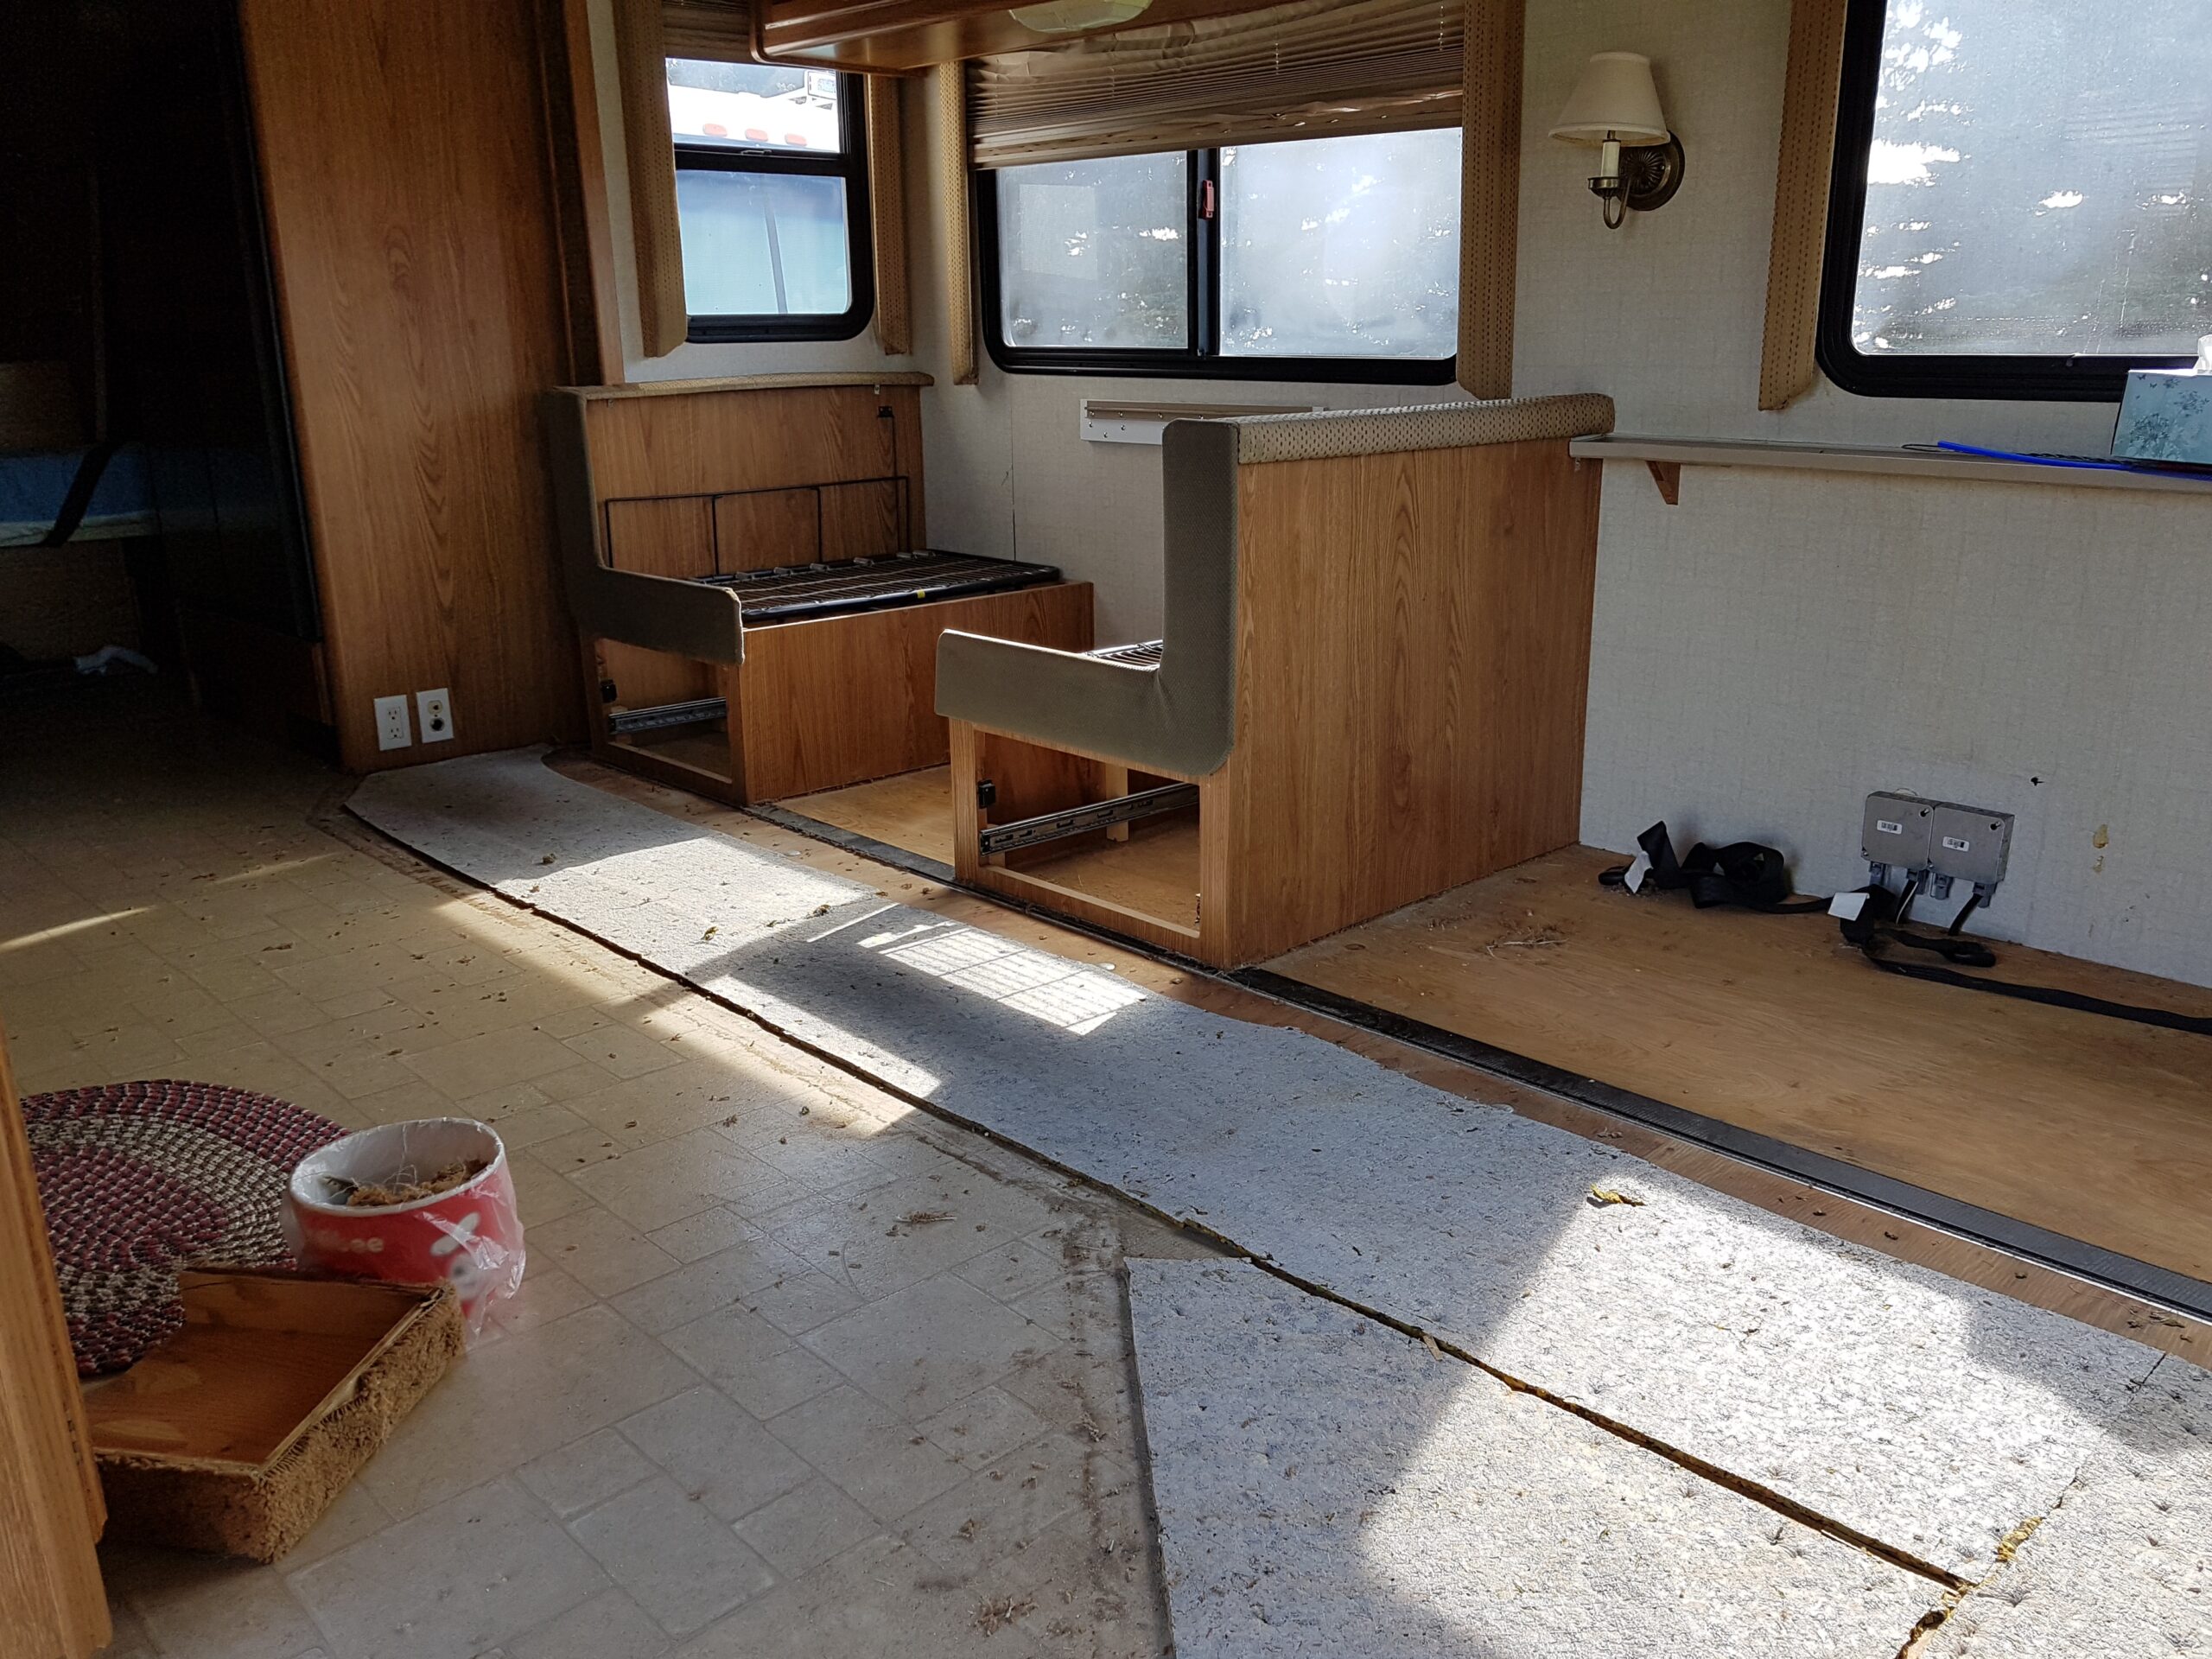
Demolition Underway
This all took about 20 hours and I was left with a big, empty plywood floored space. Because I wanted to use a layer of vinyl as a sound barrier under the carpet up front, I did the entire vinyl plank flooring first.
• The vinyl went down quickly but the nooks and crannies took quite a bit of time,
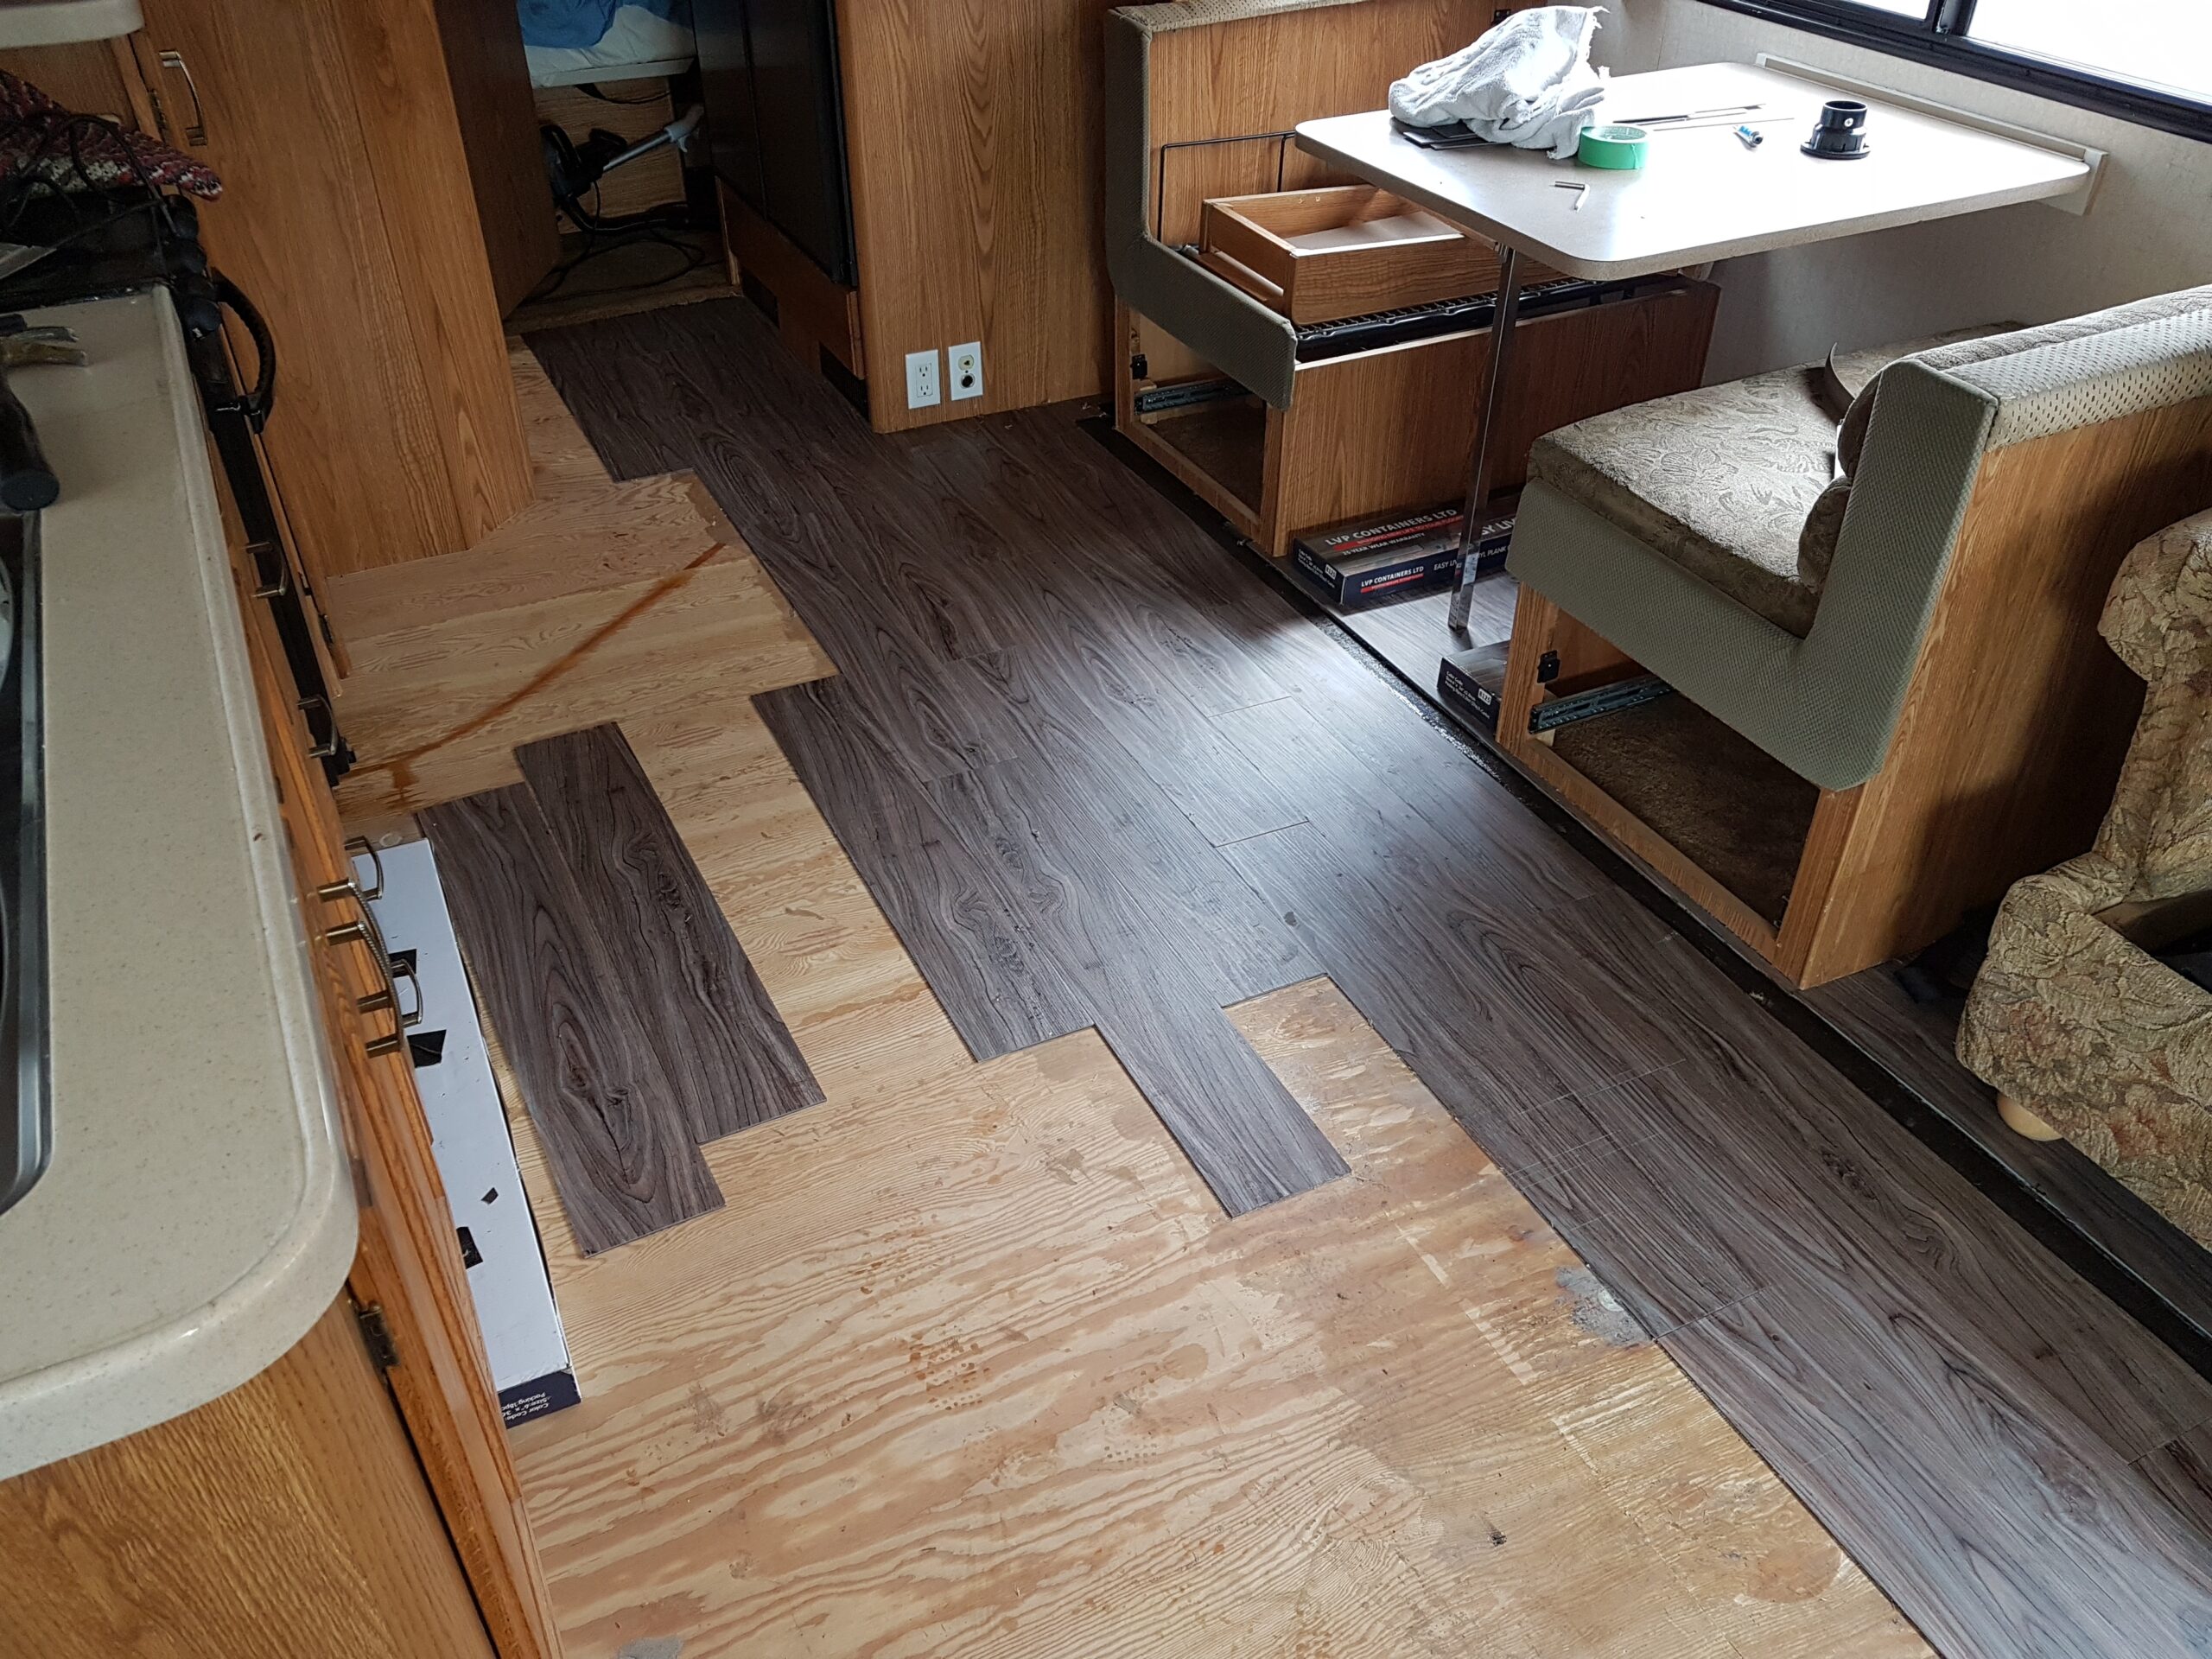
New LVP Going Down
• The new toilet and new bullnose pieces went in without a problem.
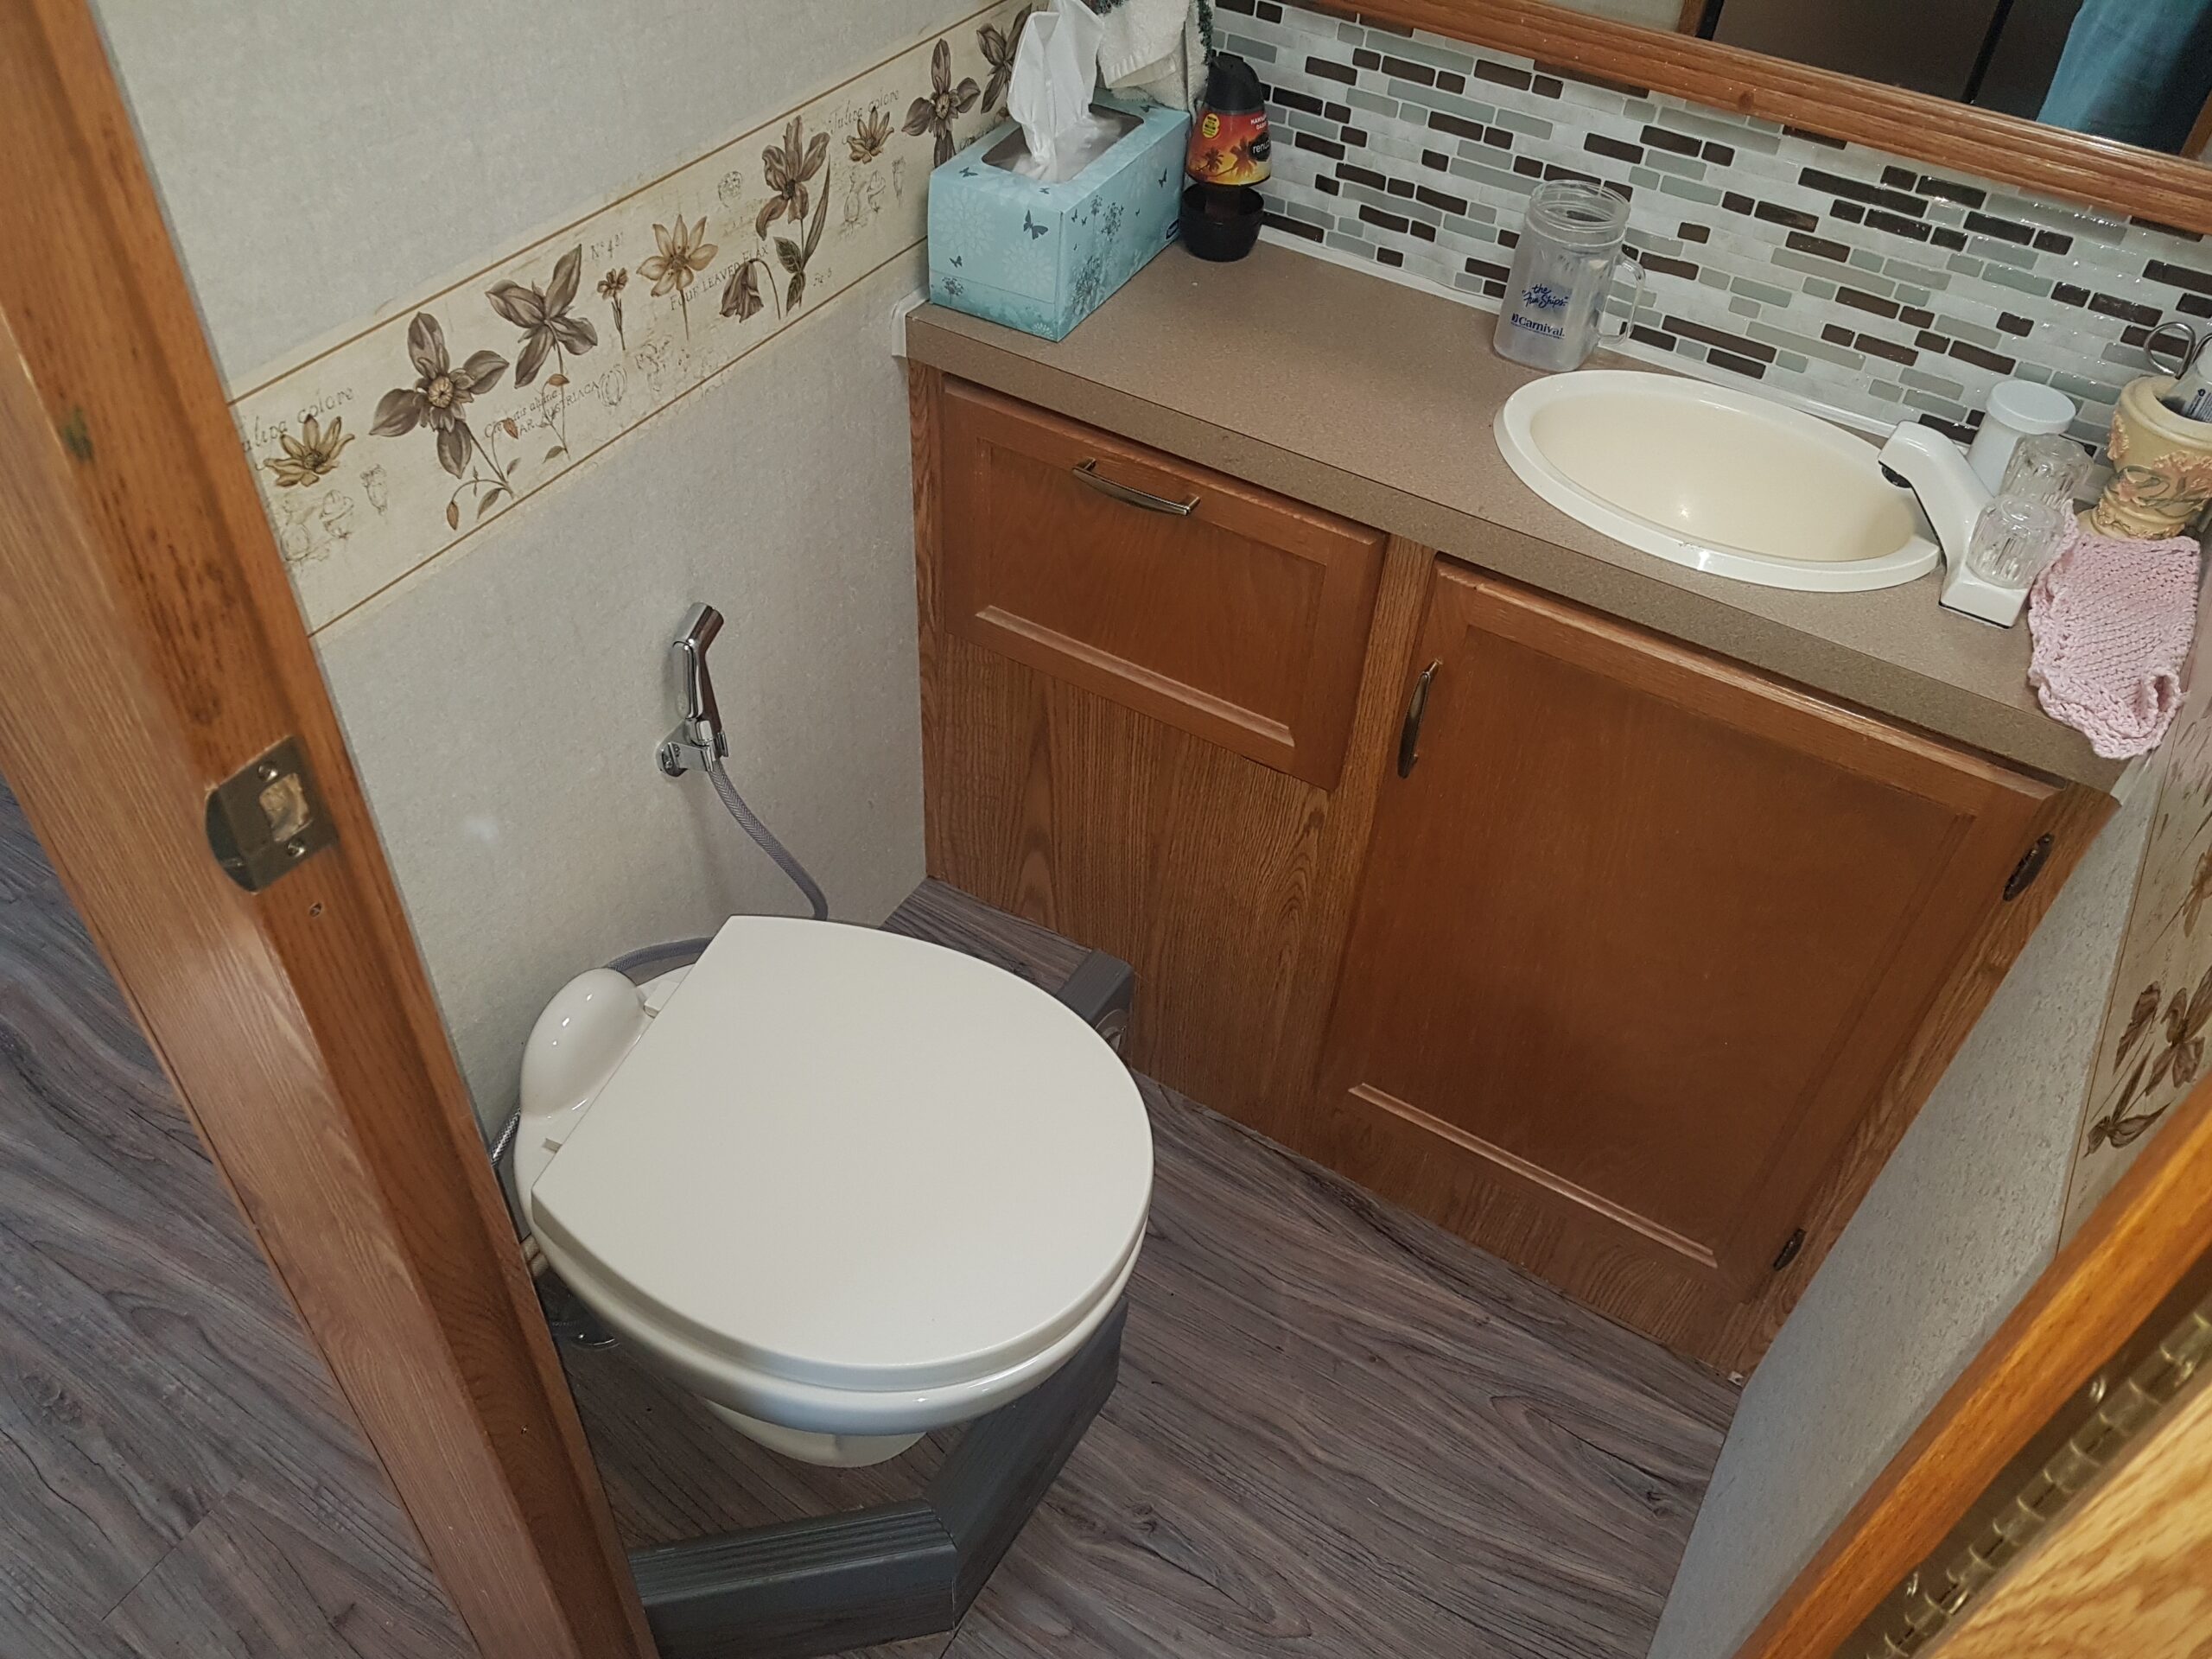
Complete Throne Room
Doghouse repair and reinforcement was straightforward.

Broken Dog House
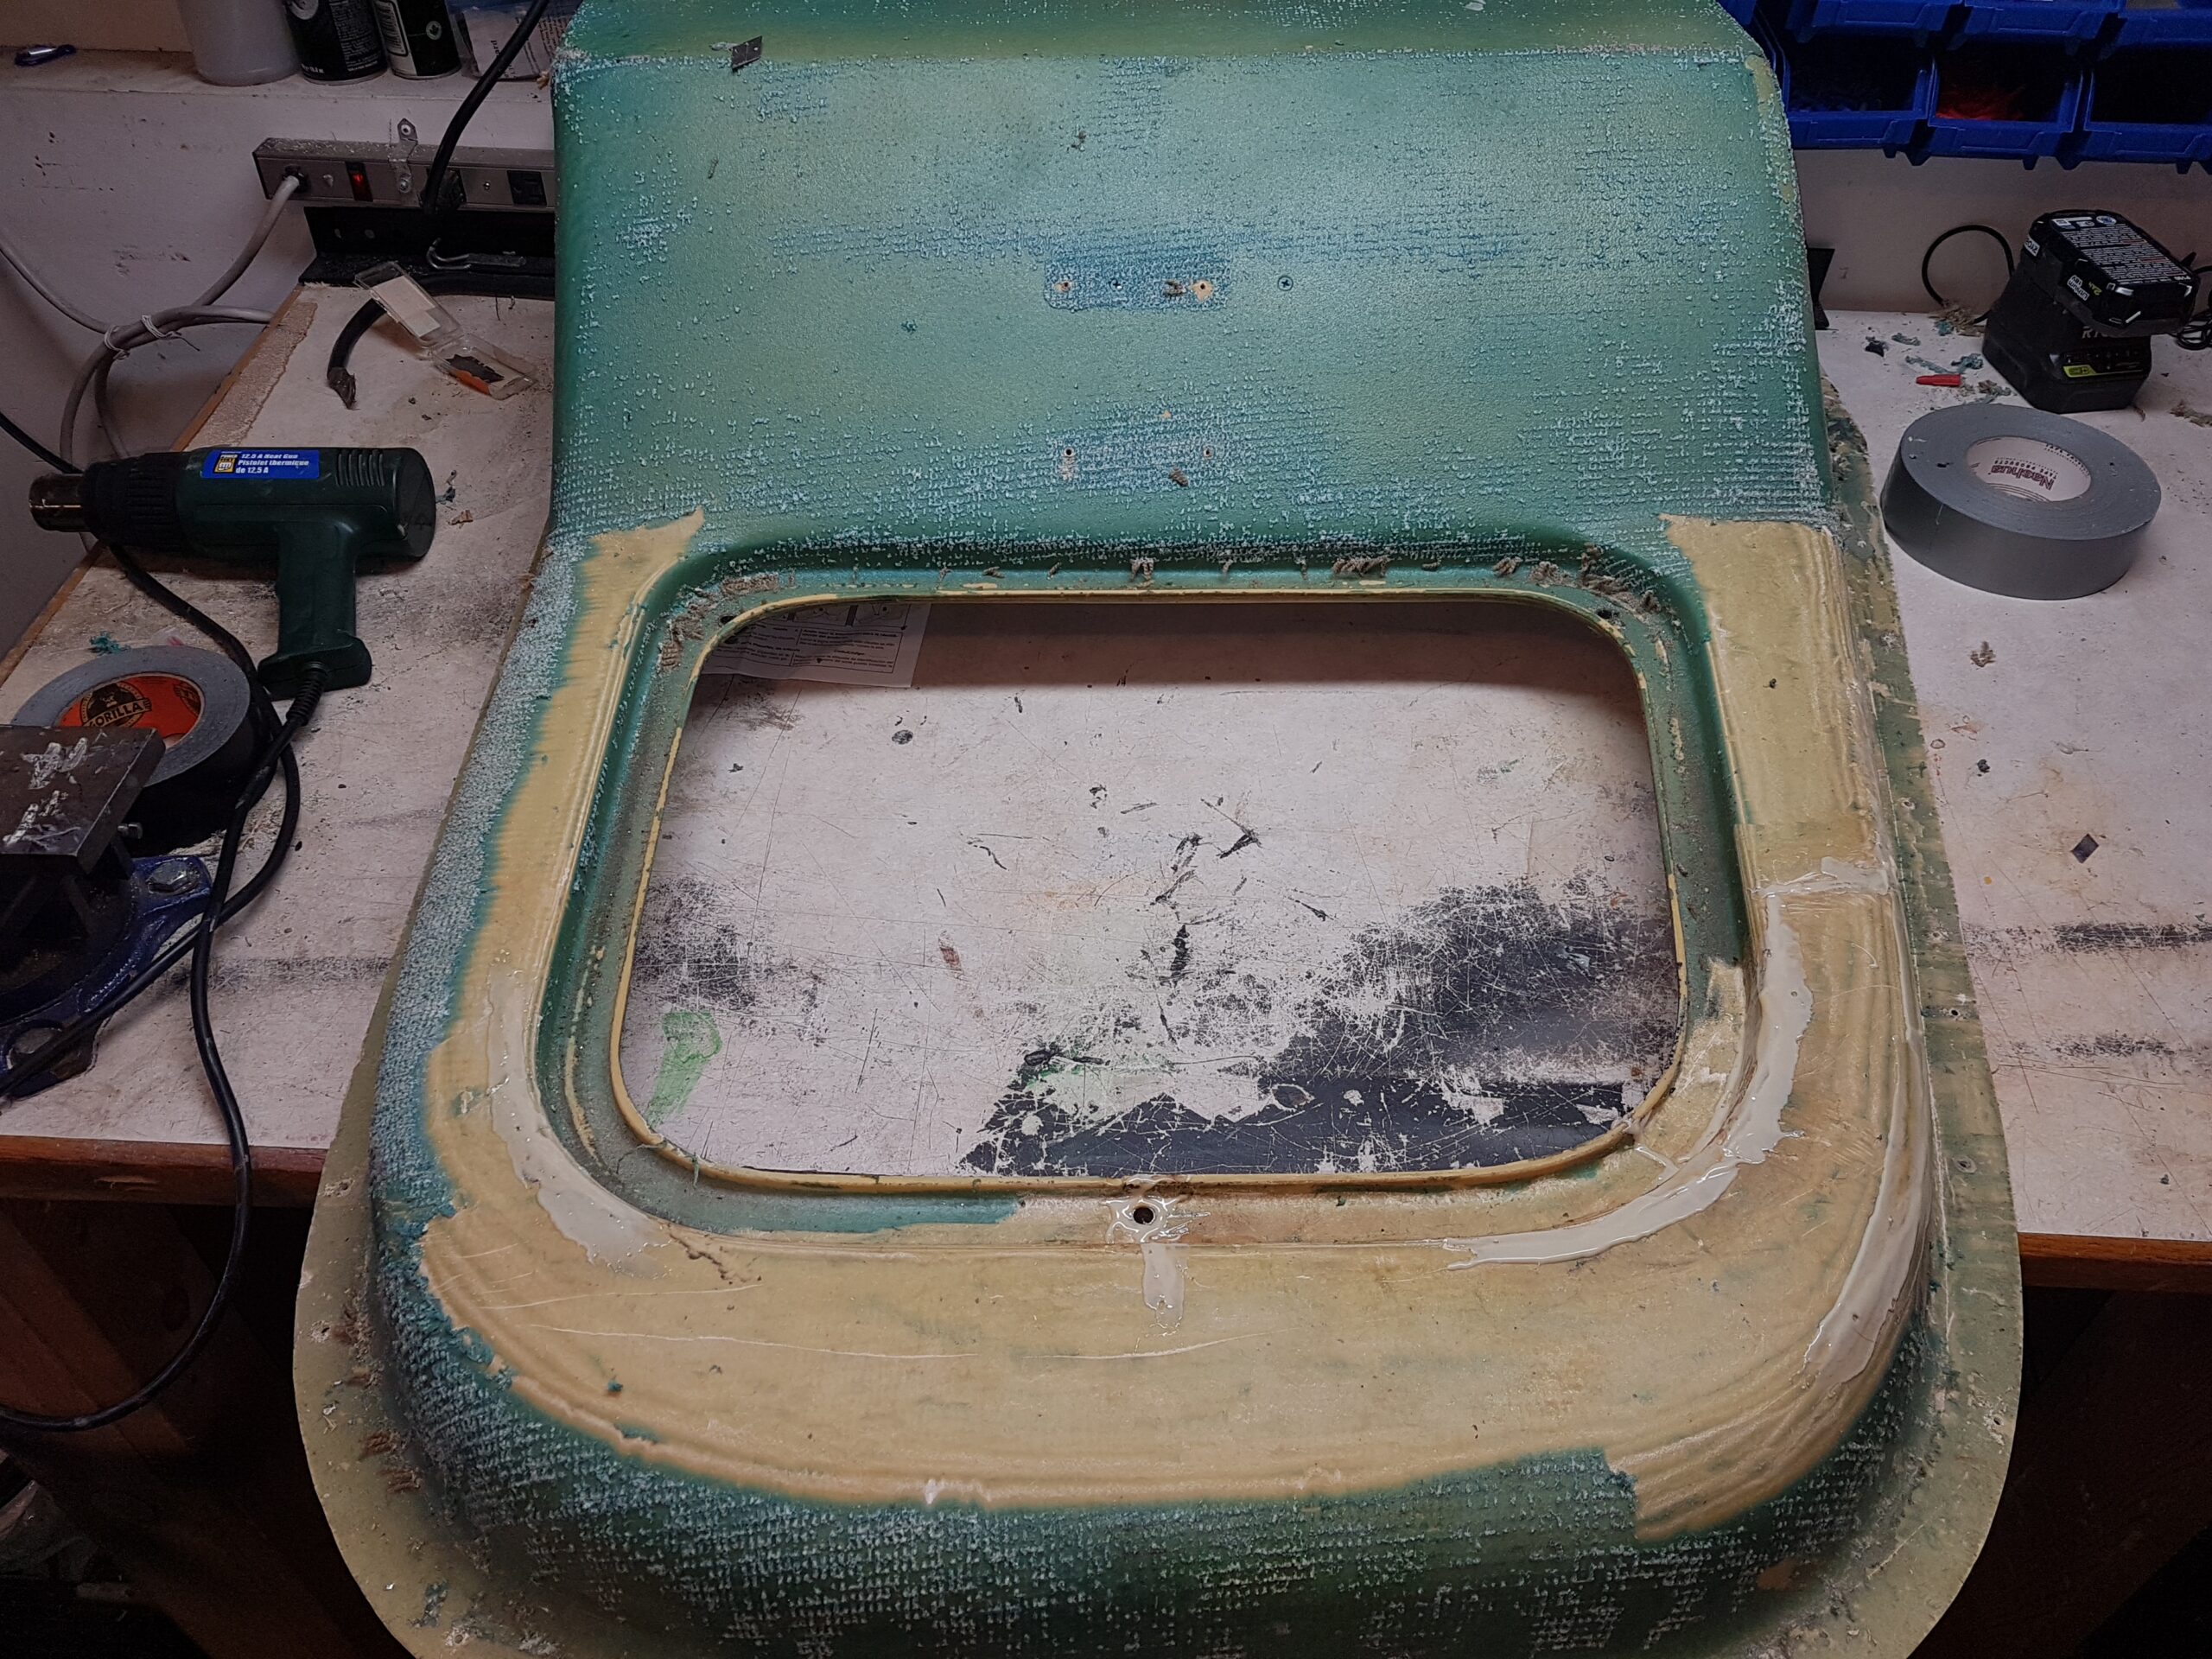
Repaired Doghouse
Fleetwood used crappy foam chip underpad on the carpeted areas of the floor but none on the doghouse. There, they simply glued the carpet down to the fibreglass. For securing the new underpad and carpet to the doghouse, after scraping it back down to bare fibreglass, I used Gorilla Glue aerosol glue. Great stuff. I also used a few screws through the carpet on the floor into the plywood to keep the carpet from shifting. I think this is adequate because it won’t get any walking around type foot traffic.
Now the cab space floor has vinyl topped by underpad topped by carpet. The doghouse has underpad and carpet. It is considerably quieter when driving down the road.
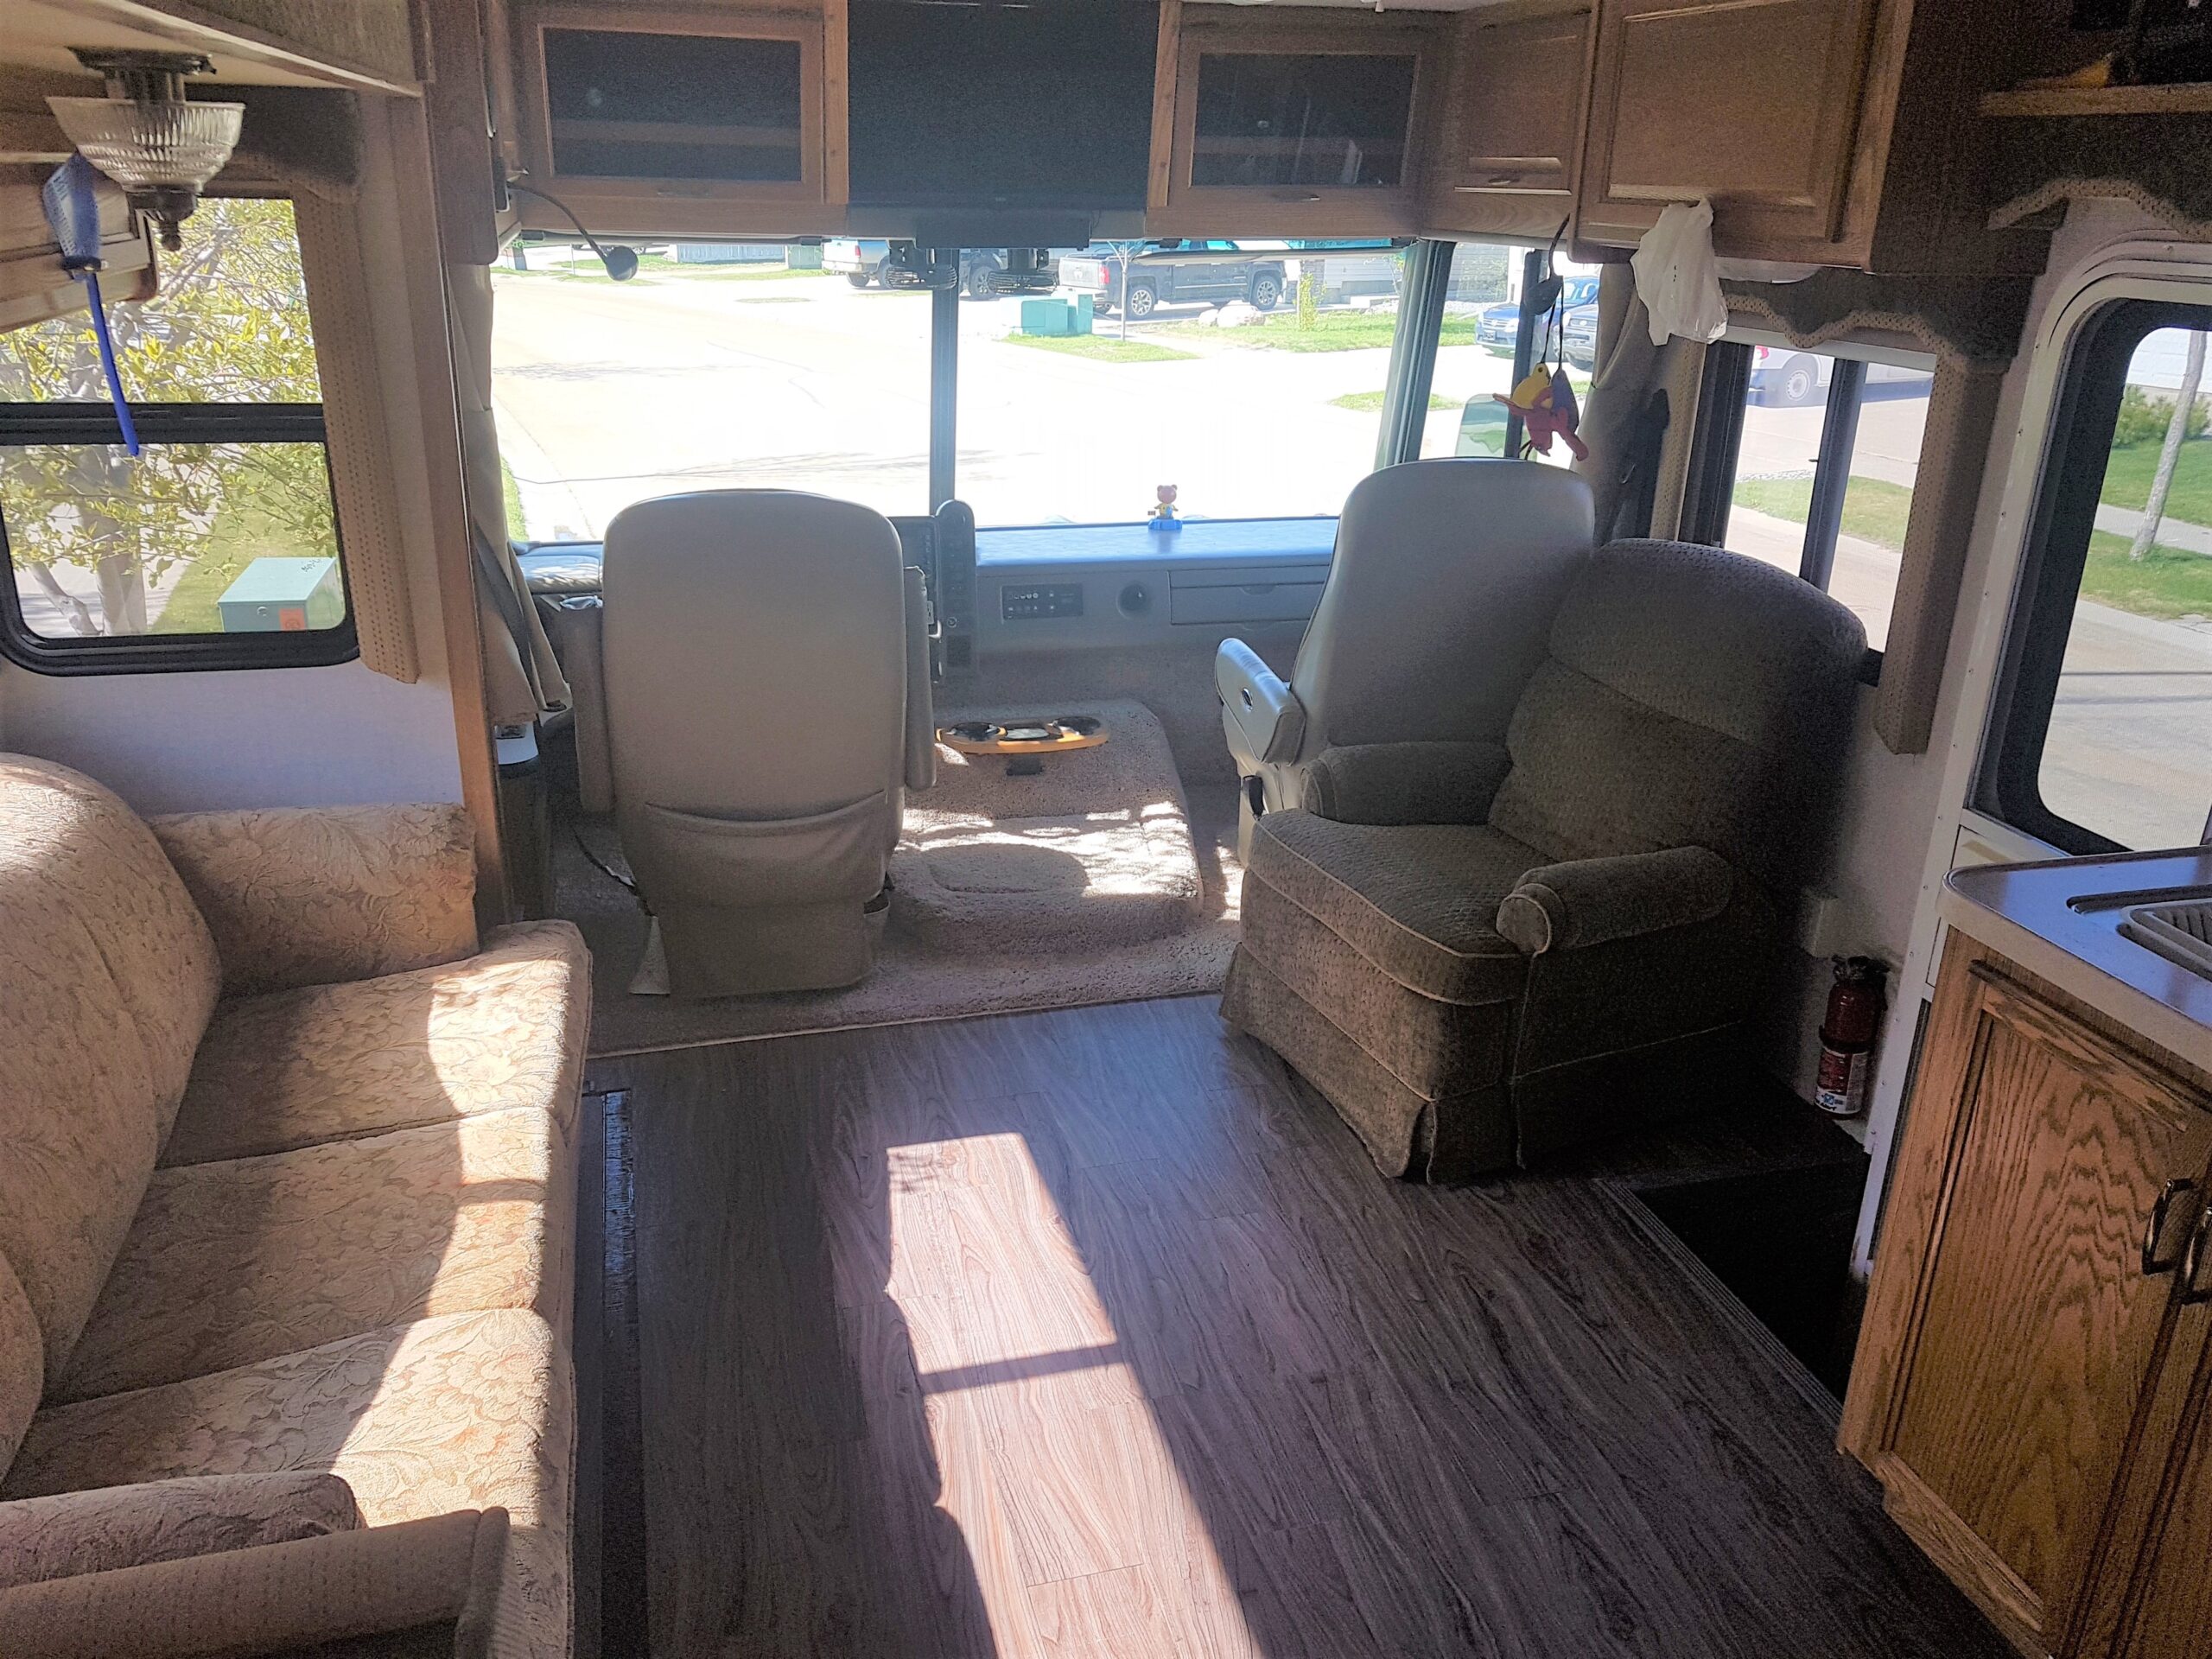
All Done!
Fleetwood installed a 12” wide strip of carpet along the floor and about the same width of carpet extended beyond the inside edge of the slideout over this strip. The result was a nice clean transition from the floor to the slideout. See “Before Work Begins” photo above.
It turns out that the carpet on the floor has another purpose: it elevates the bottom of the slideout above the vinyl floor so that they never made contact. I removed the carpet from the floor and installed vinyl that was about twice as thick as the original sheet vinyl. Now the bottom of the slideout touches the floor.
There’s no way I want my nice new floor scratched so I crawled under the slide to find a way to raise it up. There is no obvious way to do that, so I had to find a way to mechanically protect the floor. A little experimentation and I came up with simply placing three scatter mats along the floor held there by a couple of inches of duct tape so the little carpet stays put as the slideout goes across the top of it. Not perfect but workable.
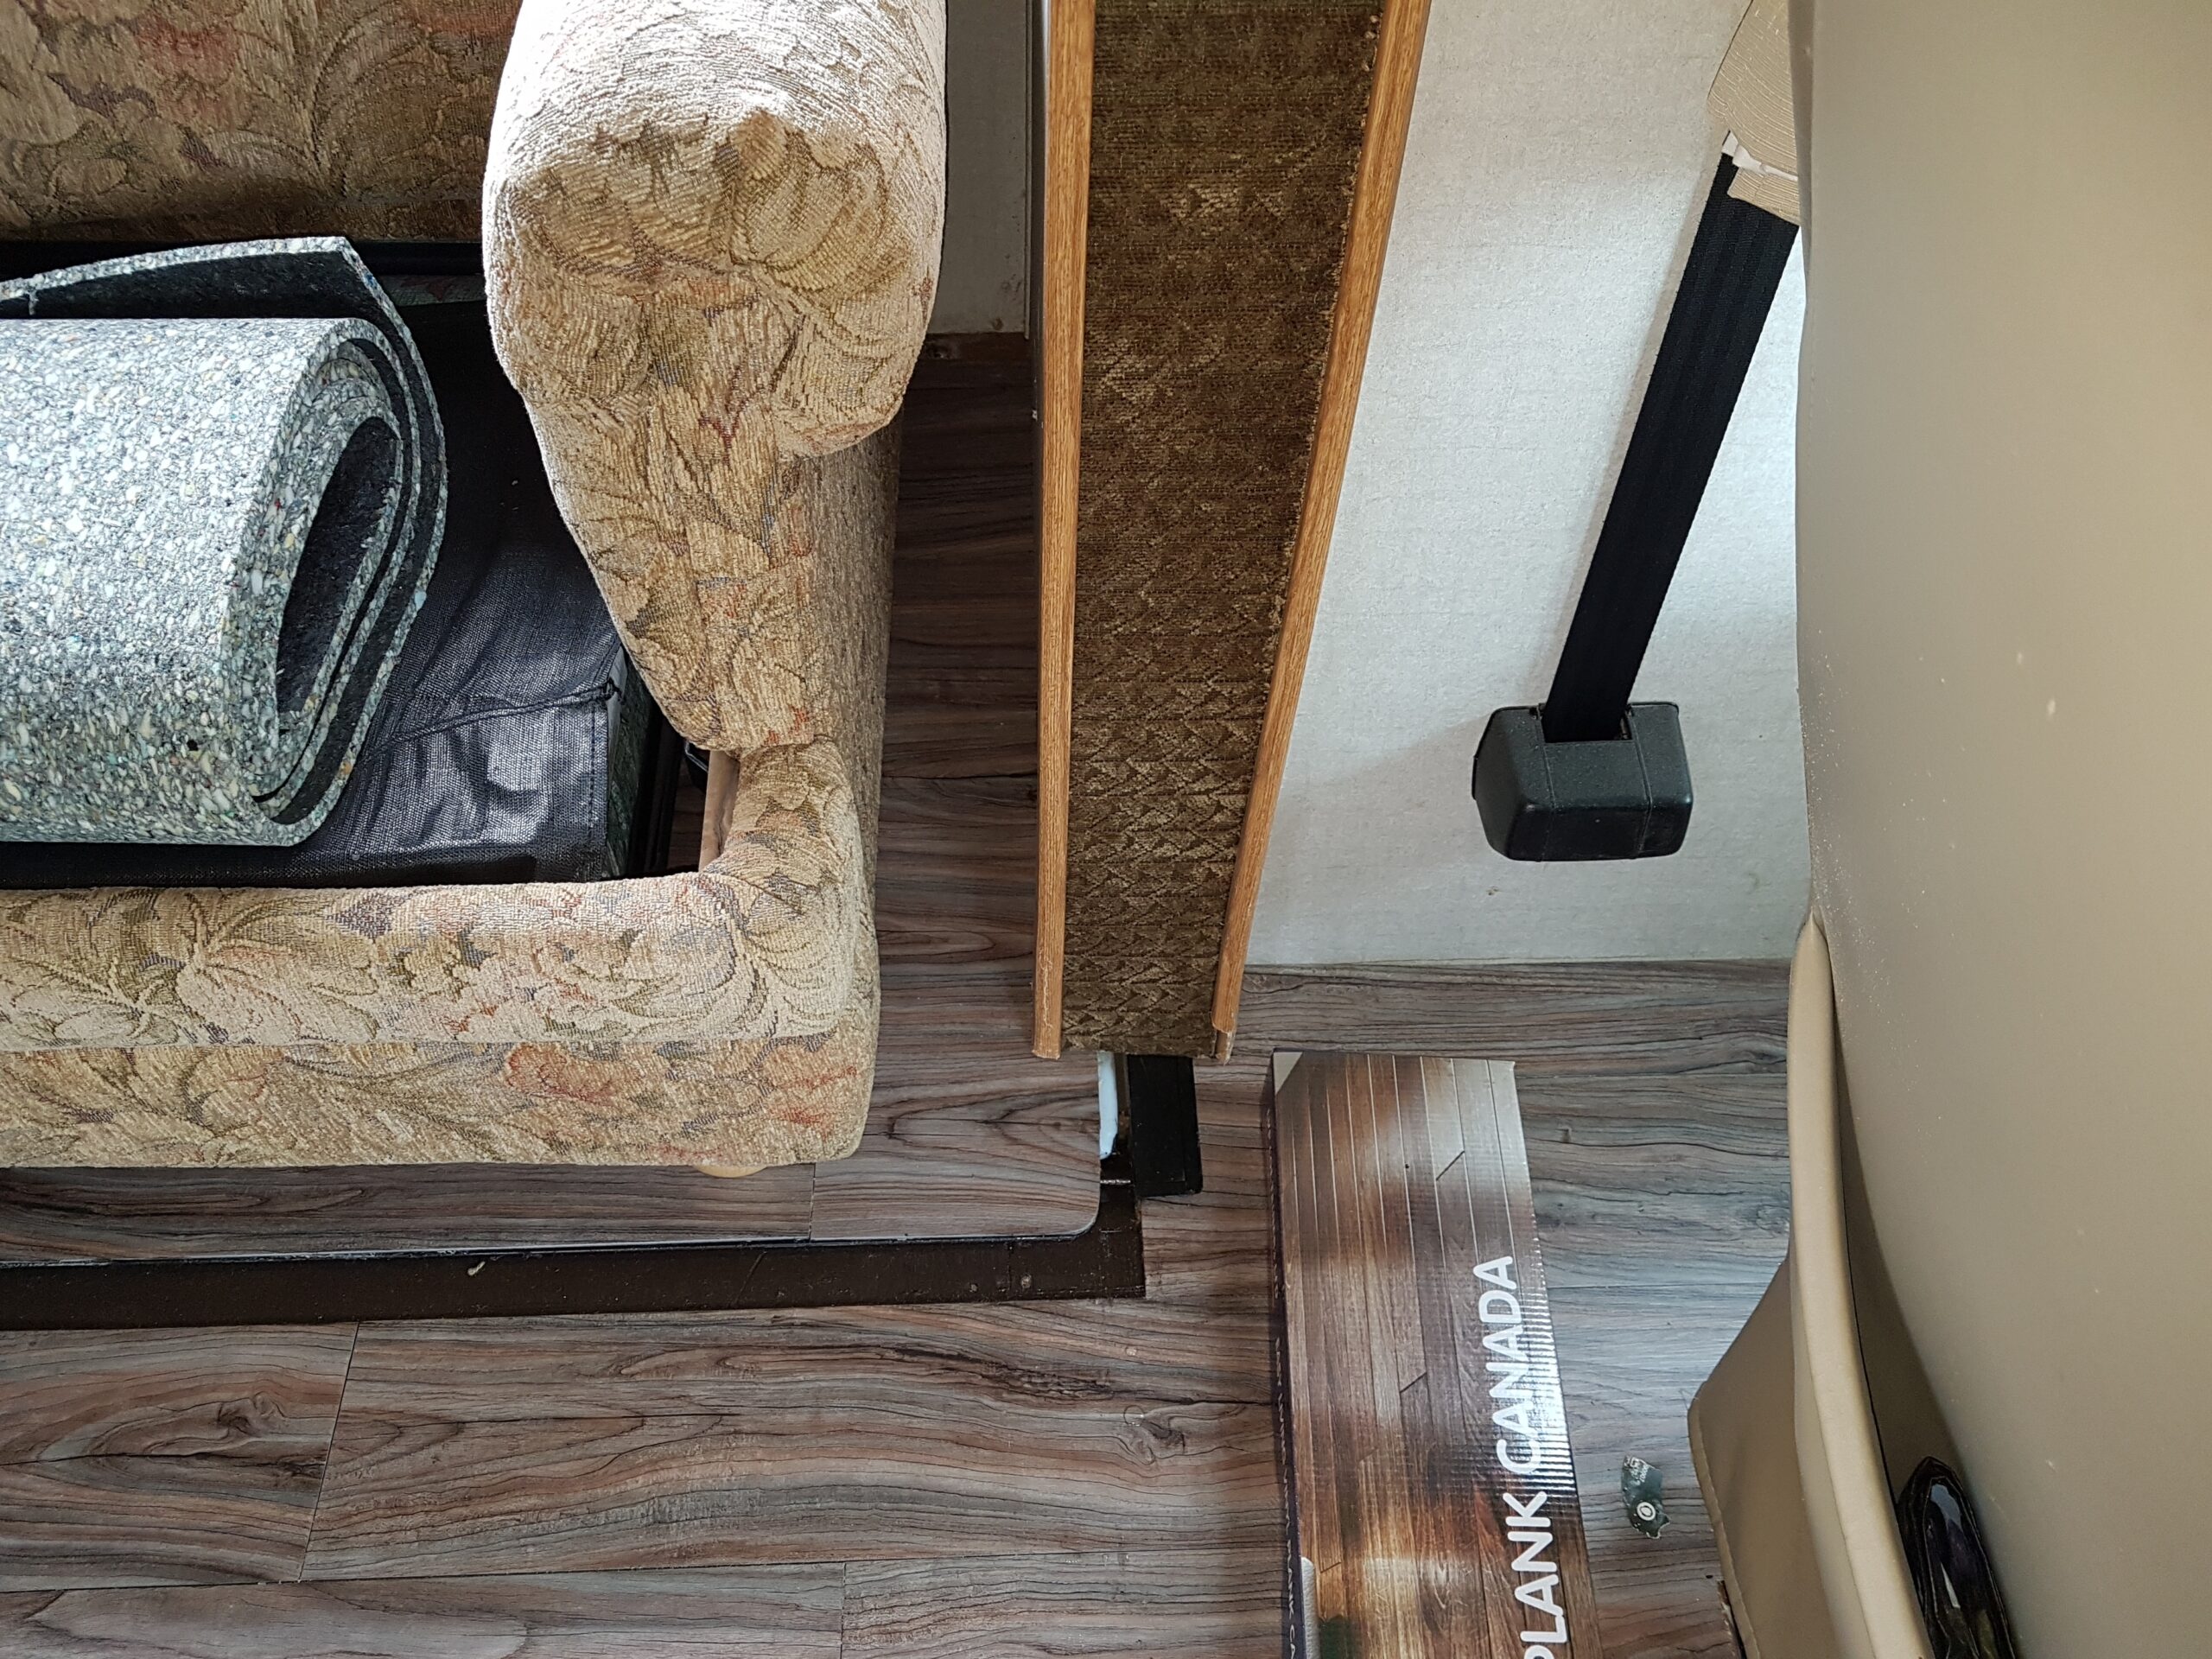
Slide / Floor joint detail.
The slideout goes out then drops down in the last couple of inches of extension resulting in a flat floor. I first glued down the vinyl right up to the edge of the floor figuring the slideout came up before moving in. Wrong! The slide comes in before moving up. Not a lot, just enough to grab the edge of the vinyl and peel it off the floor. I moved the vinyl back from the edge in ¼” increments until I found the sweet spot. I painted the metal floor rail to make it less obvious and it looks ok for now. Now the slide goes out and in without contacting the vinyl, either at the edge or along the 30” width of the slide.
My advice is to stick with carpet in the slideout and on the floor under the slideout carpet overhang. I may decide to revert to that design in the future.
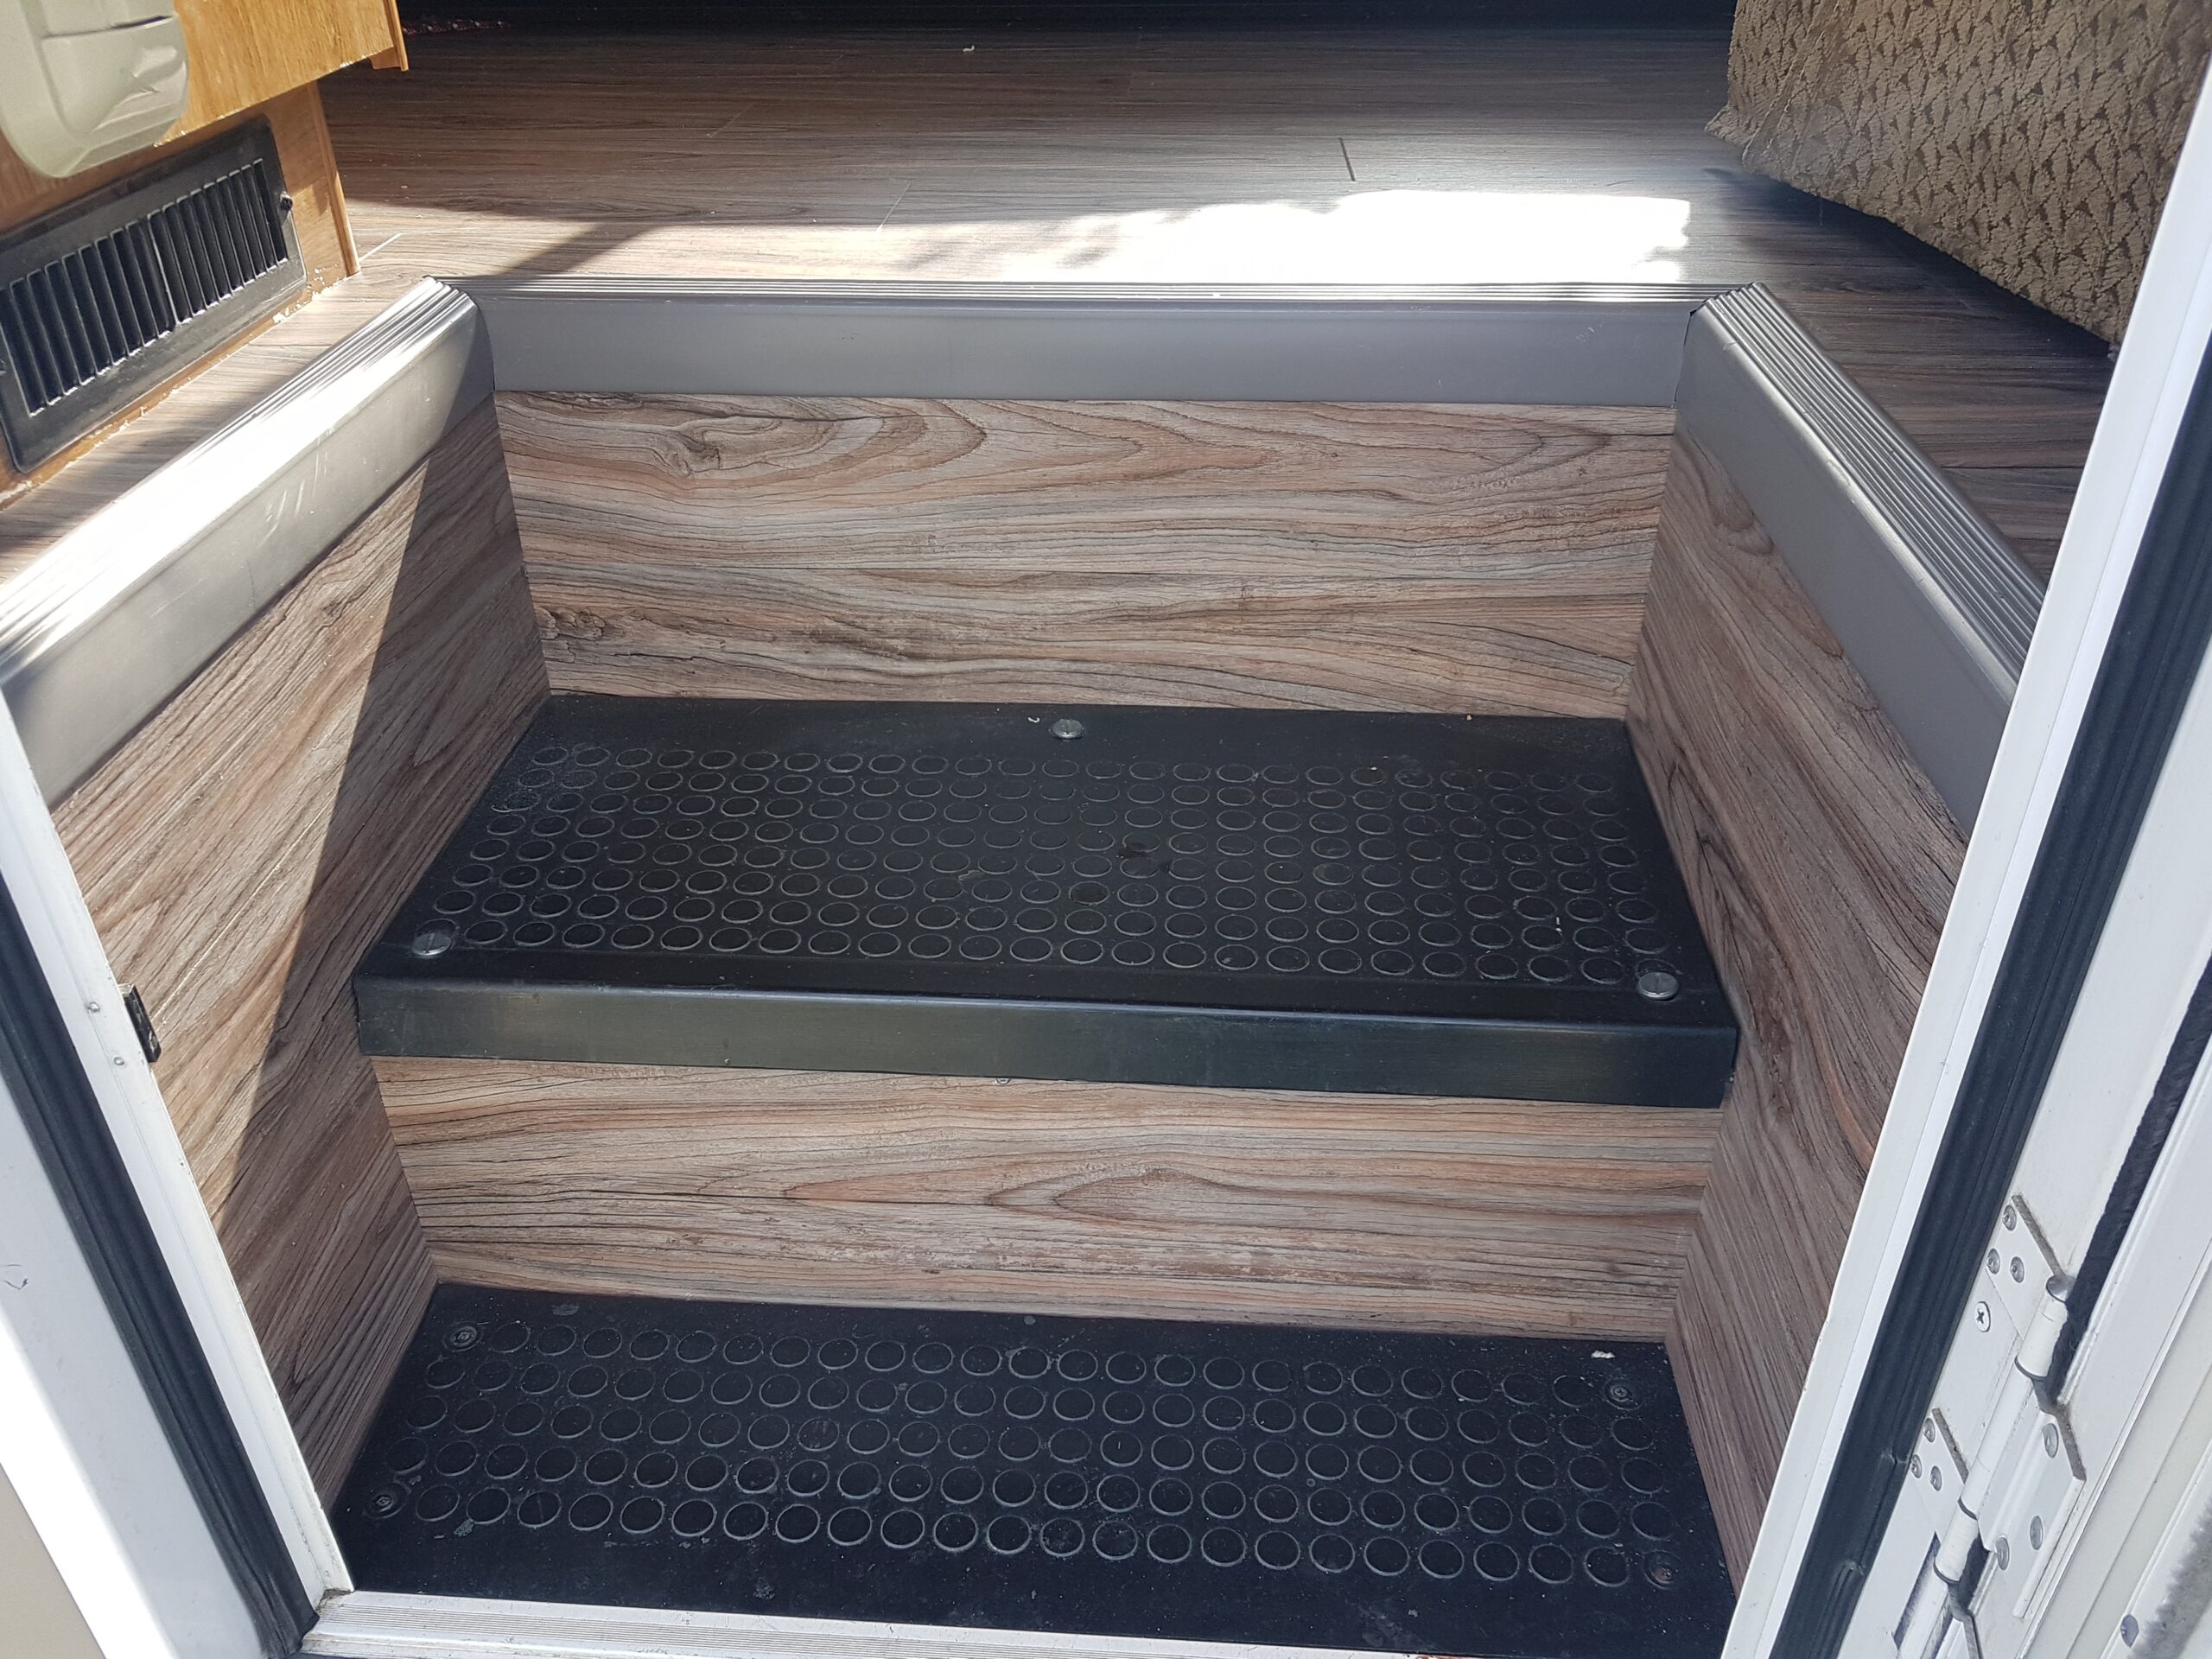
Completed Entry Steps
I work slowly and estimate I put in a total of 40 hours on this project. Materials and assorted stuff for the project ran about $750 but we are happy with the result.
Greg Harrison ©
www.bobog.org