Troubleshooting your RV furnace is relatively simple if you know what to look for. The furnace should operate the following way when you turn it on:
- The main fan will turn on.
- The sail switch will detect that sufficient airflow is present.
- Gas will begin to flow through the burner.
- The ignitor will spark and light the gas.
- The flame sensor will detect the heat of the flame.
If all goes well the furnace will remain lit and your RV will begin to warm up.
Flash Codes
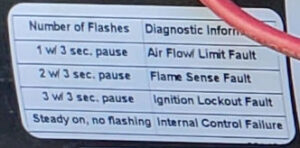 When you open the hatch to access the furnace you should see a circuit board among other things. On most systems you will find an LED (red usually) that will indicate several possible failures (see photo above). This is a prime method to determine what may be wrong with your furnace.
The following sections will describe some of what you can do to help alleviate these failures.
Sail Switch (Air Flow Limit Fault)
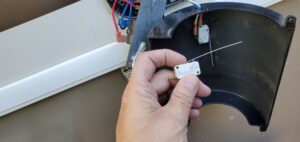 The sail switch is essentially a simple switch with a long rod attached that will “sail” in the airflow and trigger the switch. These notoriously go bad due to the slightest amount of dust or debris caught in the crux of the switch/bar. They also go bad simply due to age.
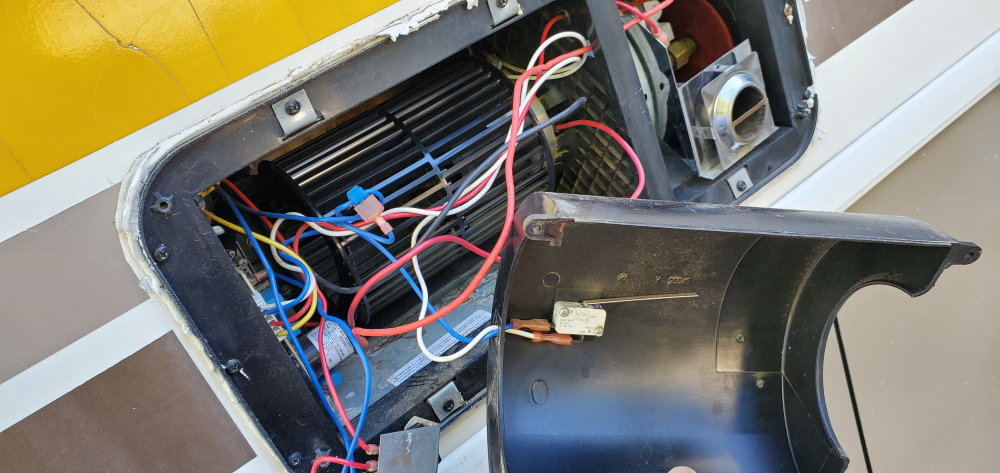
Replacement of the sail switch requires you to remove the fan housing. It is typically attached to the inside of the housing in the direct airflow of the fan. Many furnace manufacturers make this a relatively easy job to access but they can sometimes be tricky. Just be patient and careful about what you do. Replacement switches are readily available on Amazon.com and other suppliers.
Burner/Ignitor
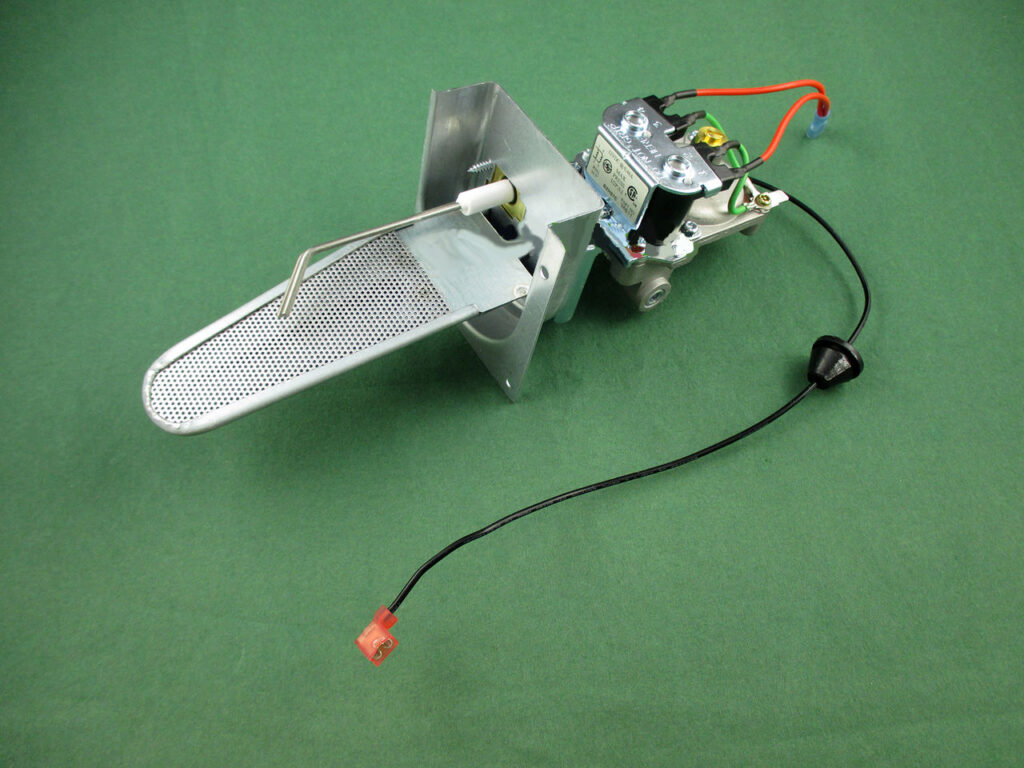
This is what your gas module looks like when you pull it out of the furnace. It contains the gas valve, which is controlled electronically, the burner head and igniter/flame electrode. It is rare for the gas valve to go bad. Most common, the burner head gets rusty or clogged or the igniter breaks or is, for some reason, out of position.
This is what an old, rusty burner head looks like versus a new one. These are designed to allow the gas to spread evenly across the head to provide a large flame ‘surface area’. If it is clogged for any reason, the gas, of course, would not be able to flow.
Ignitor/Flame sensor
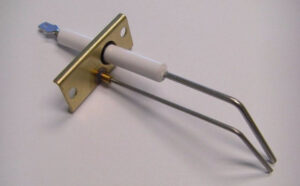
This device commonly consists of two “probes”. One probe must be slightly above the burner head. This is the ignitor. A spark is generated between this probe and the head and lights the gas. If the gap between the burner head is too great, the spark will not occur. If the probe is touching the burner head, you will typically get a “ignitor lockout failure” flash code and again, no spark can occur.
The second probe is a flame sensor that tells the electronics that there is, indeed, a flame. If this fails, the controller will shut down the gas (flame sense fault).


1 comment
[…] When I first purchased my 2003 Bounder, I found that bugs have made their way inside some areas and made nests. In my case I had an infestation of Mud Dauber nests.The areas they got in were behind the refrigerator and inside the furnace. The latter can be dangerous as you can have a flame issue that could damage not only the furnace but also the area surrounding it. My furnace was so infested it wouldn’t work which prompted me to clean the whole thing. See the article on Furnace Tips. […]