

Ok so you finally removed that huge anvil of a television above the captains chairs. Now what? I have always been one to make use of all possible space and try to make things look as “factory” as possible. When I removed the TV I just stared at the space for a few days thinking about how I was going to “fix” it. My instinct told me to just build another cabinet as close to matching the ones on either side as possible. So here we go…
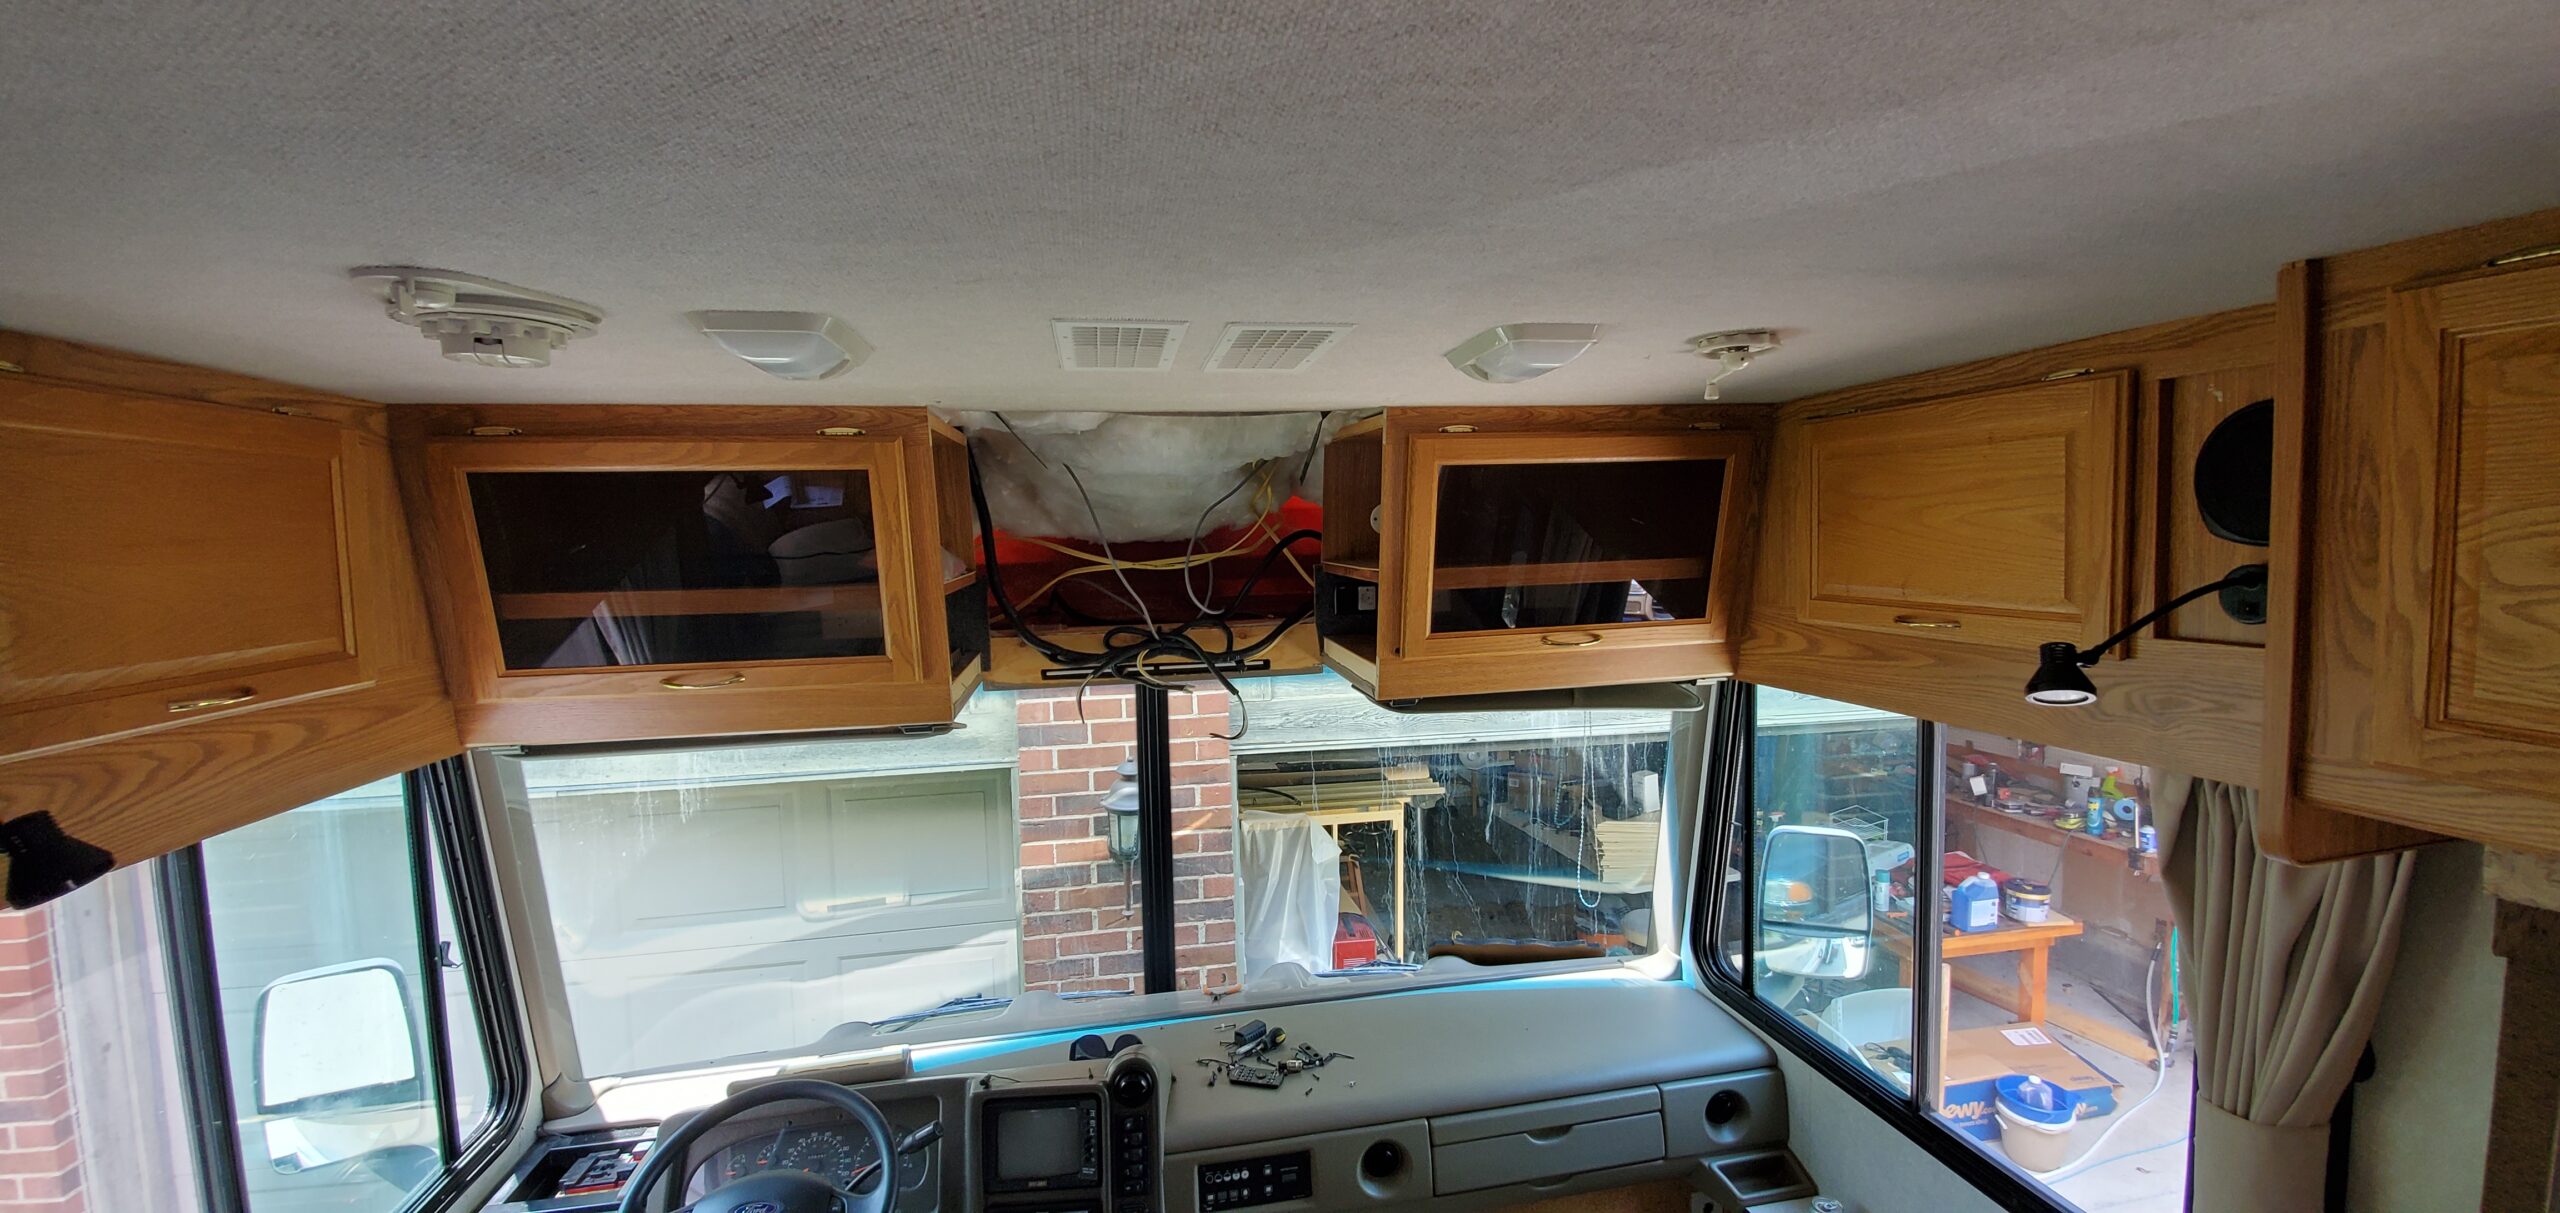
Remove the extra hardware
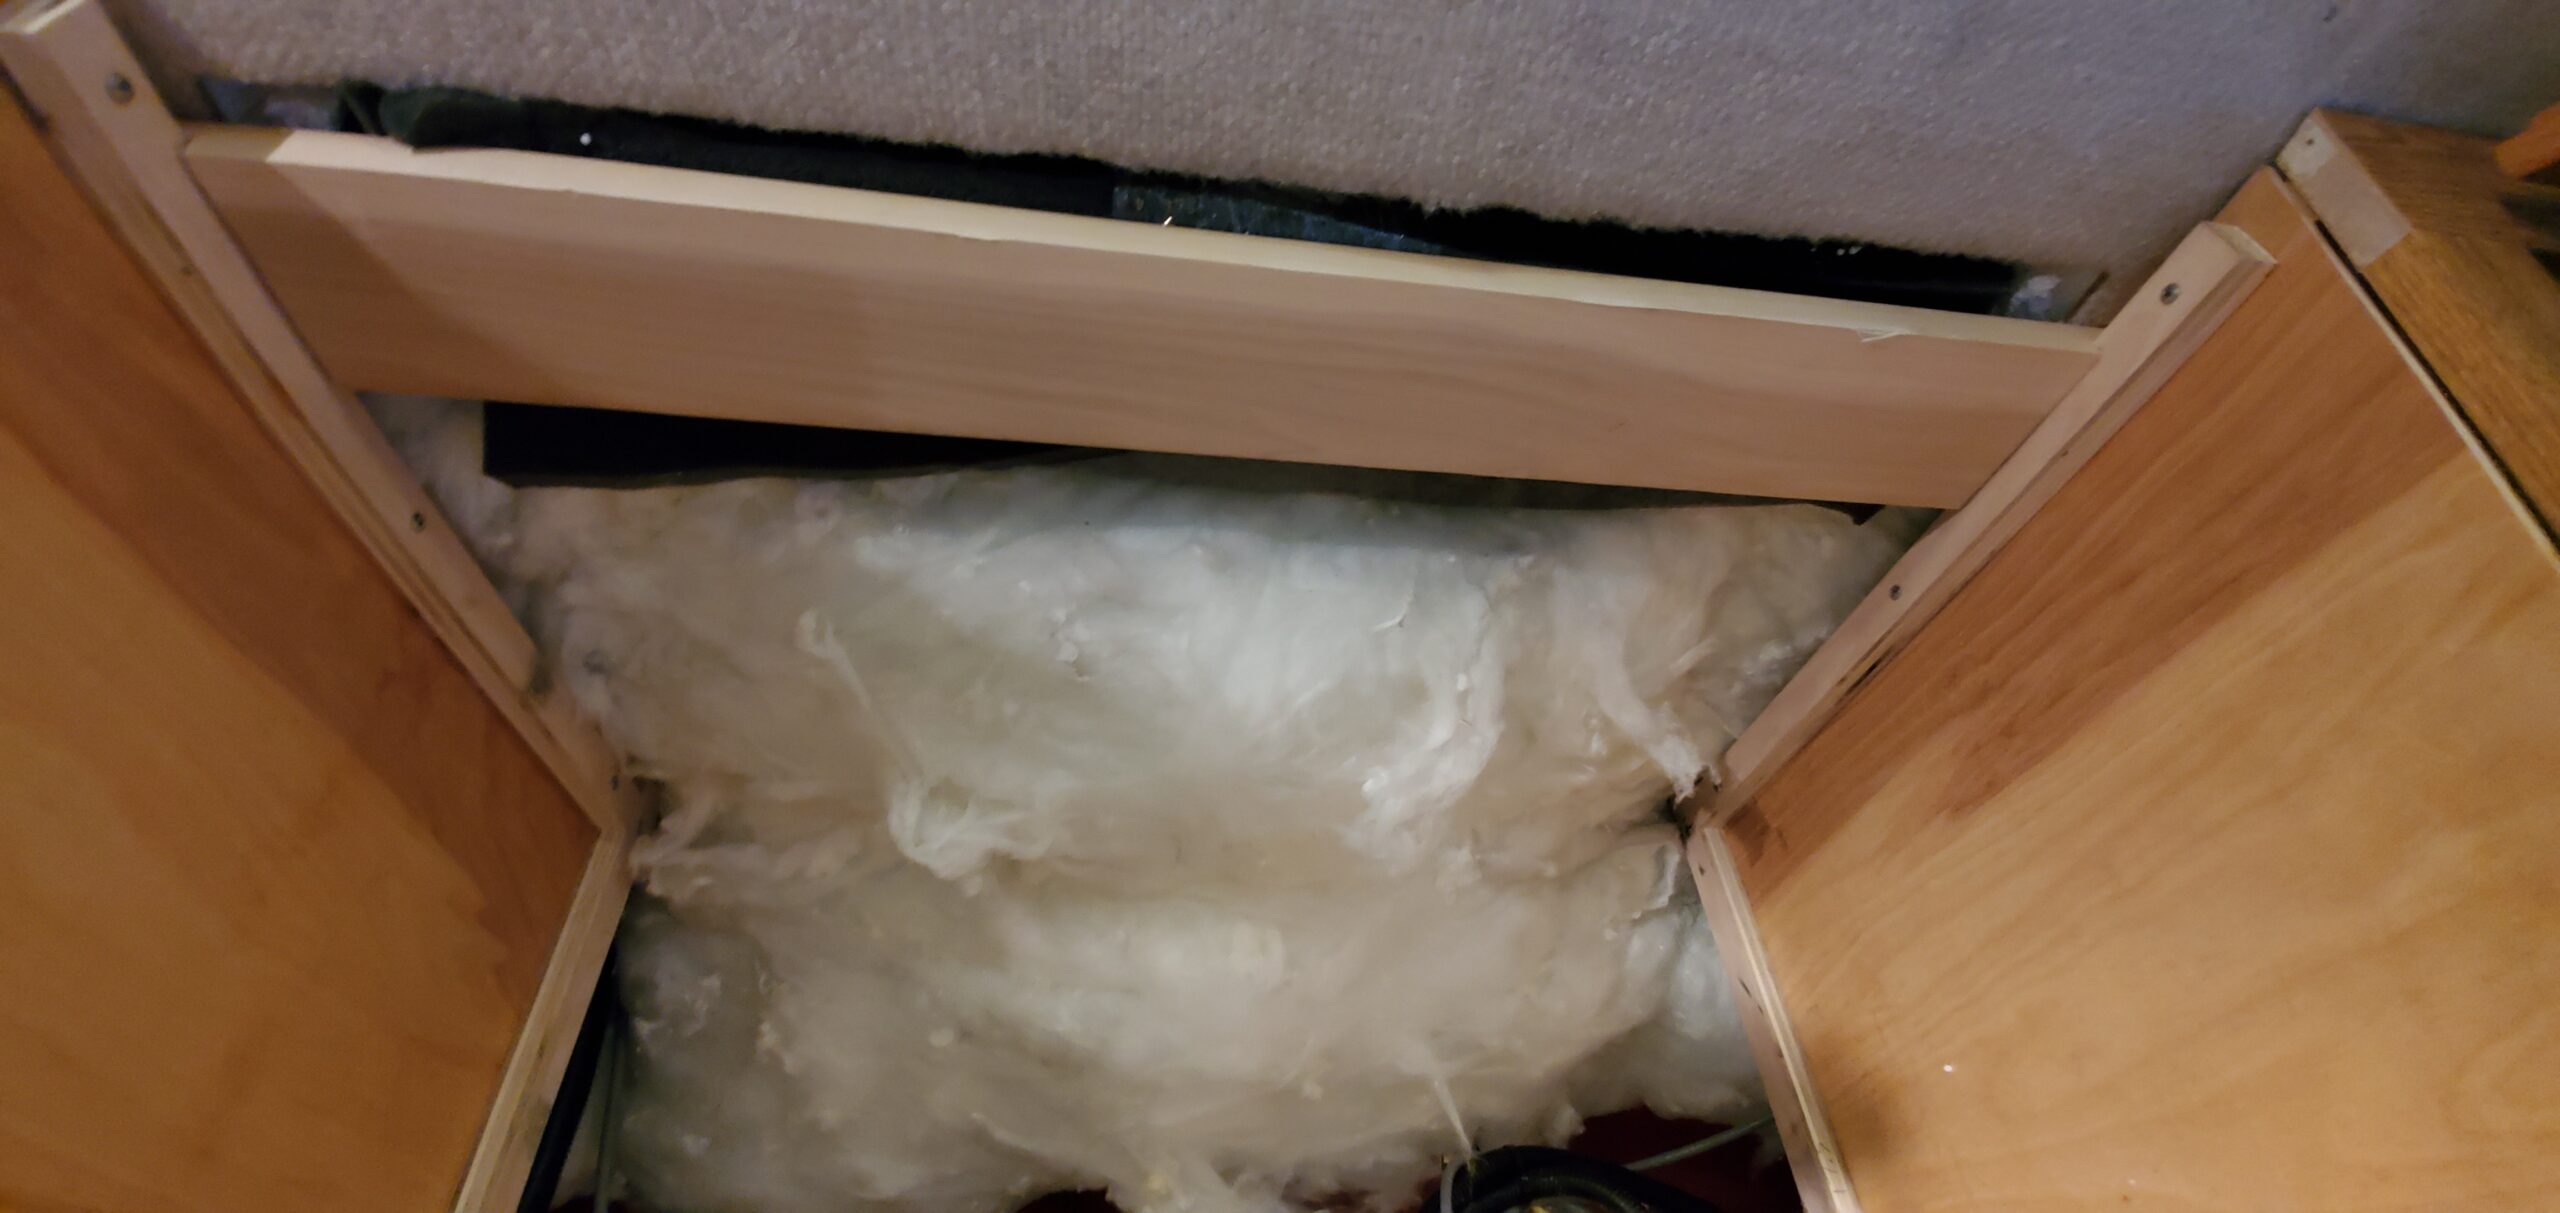
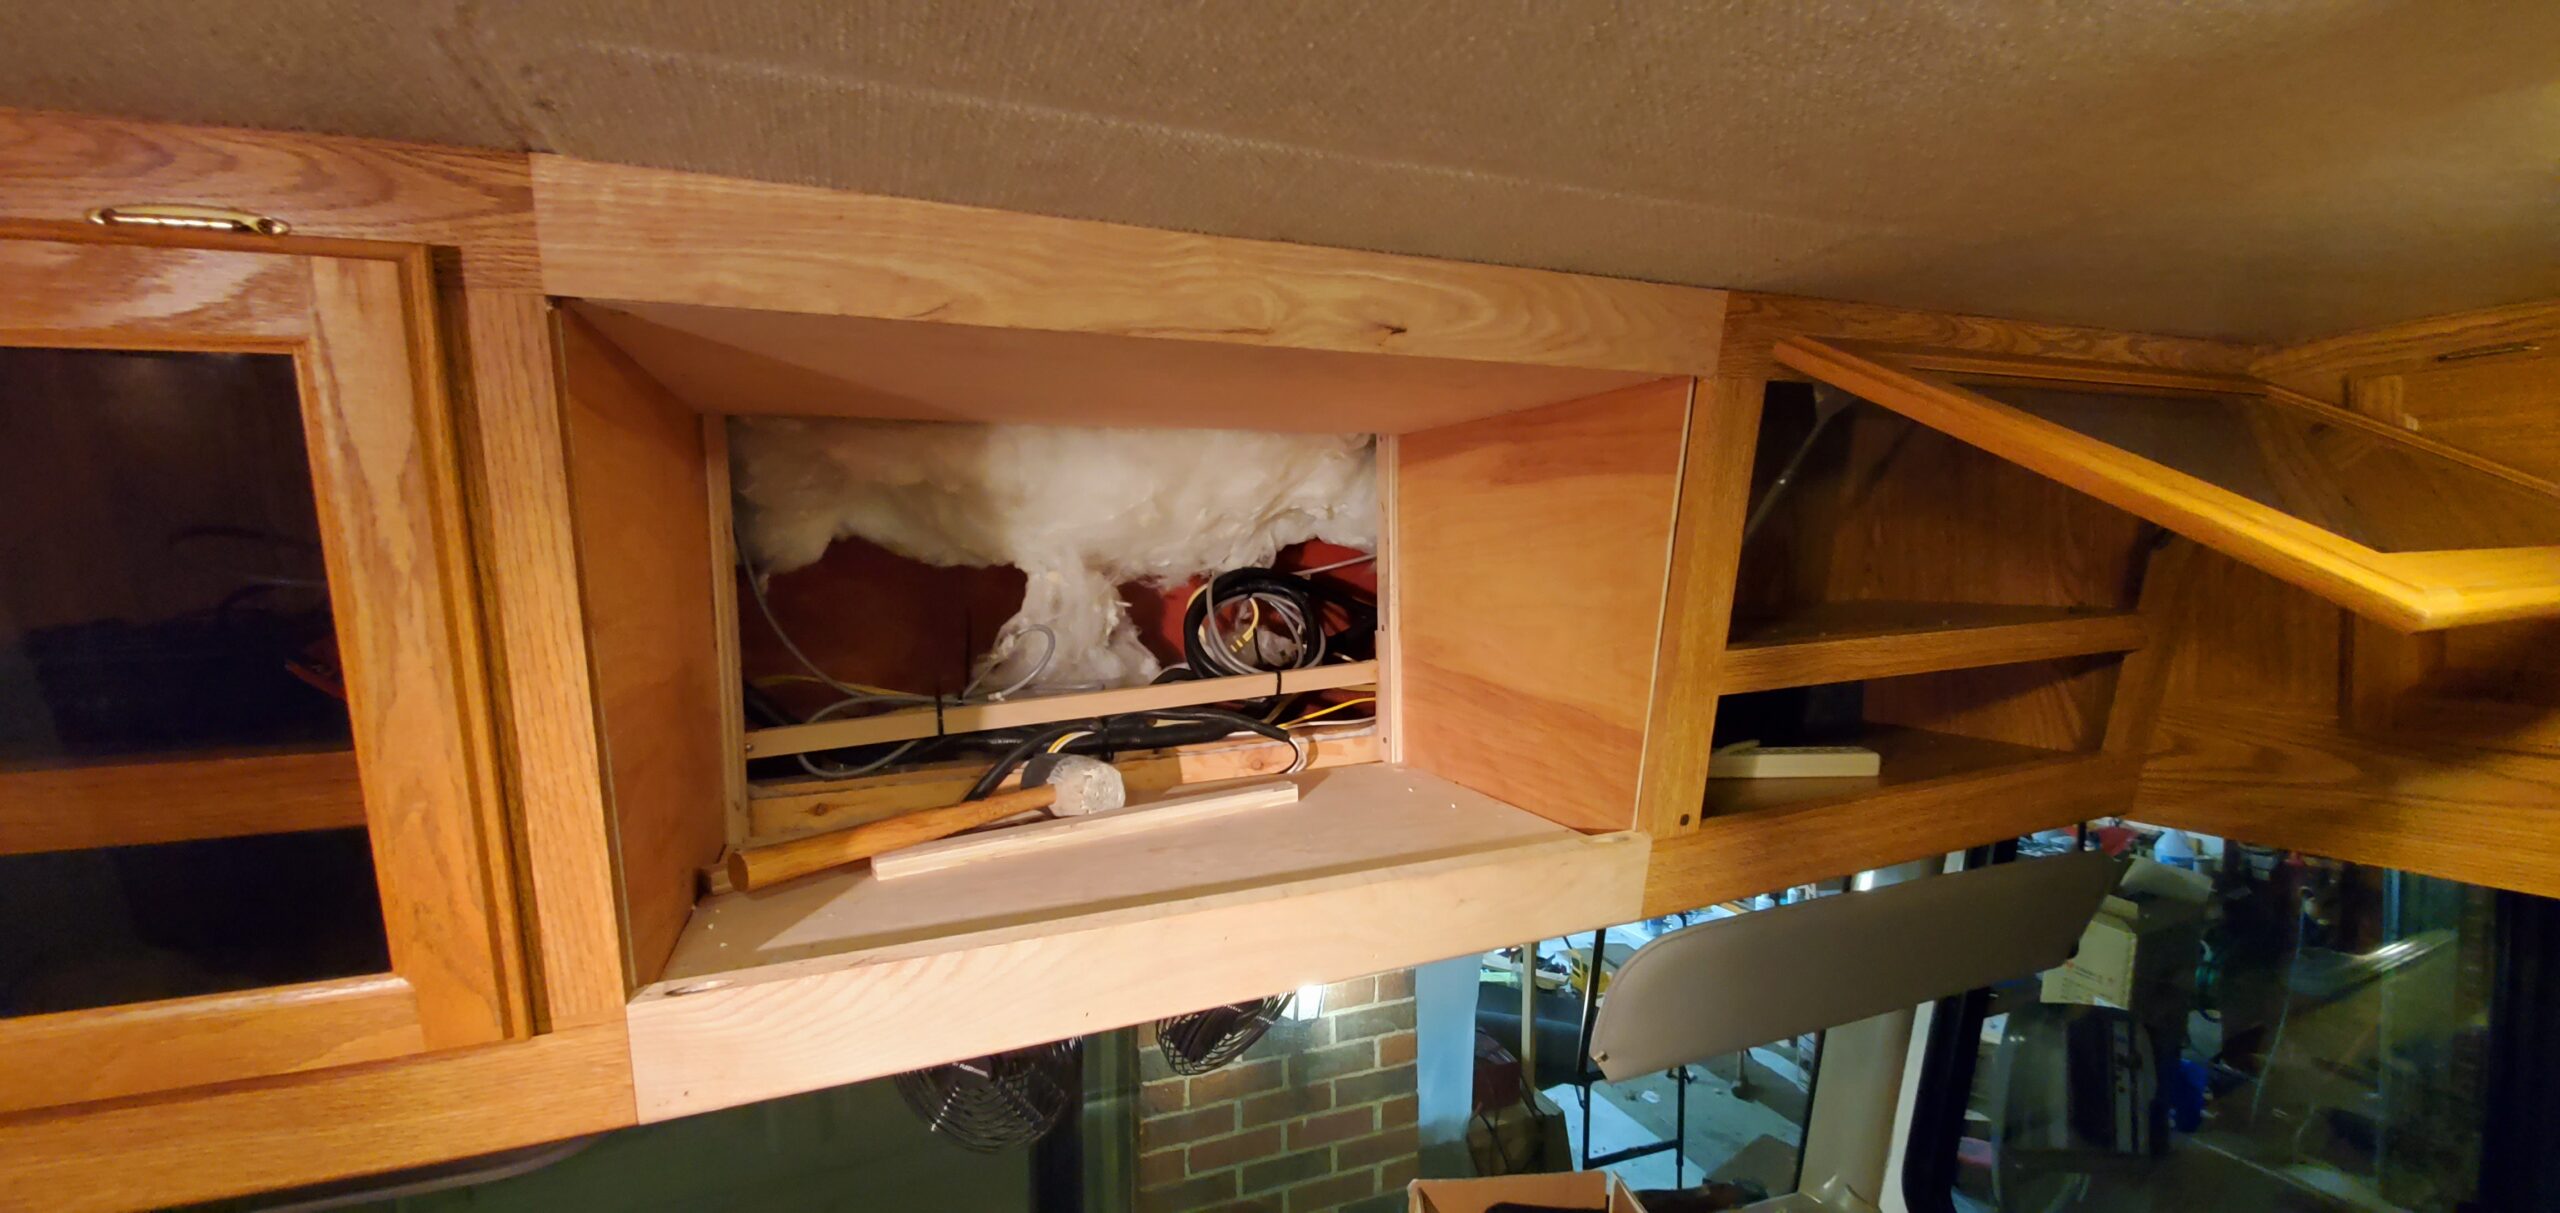
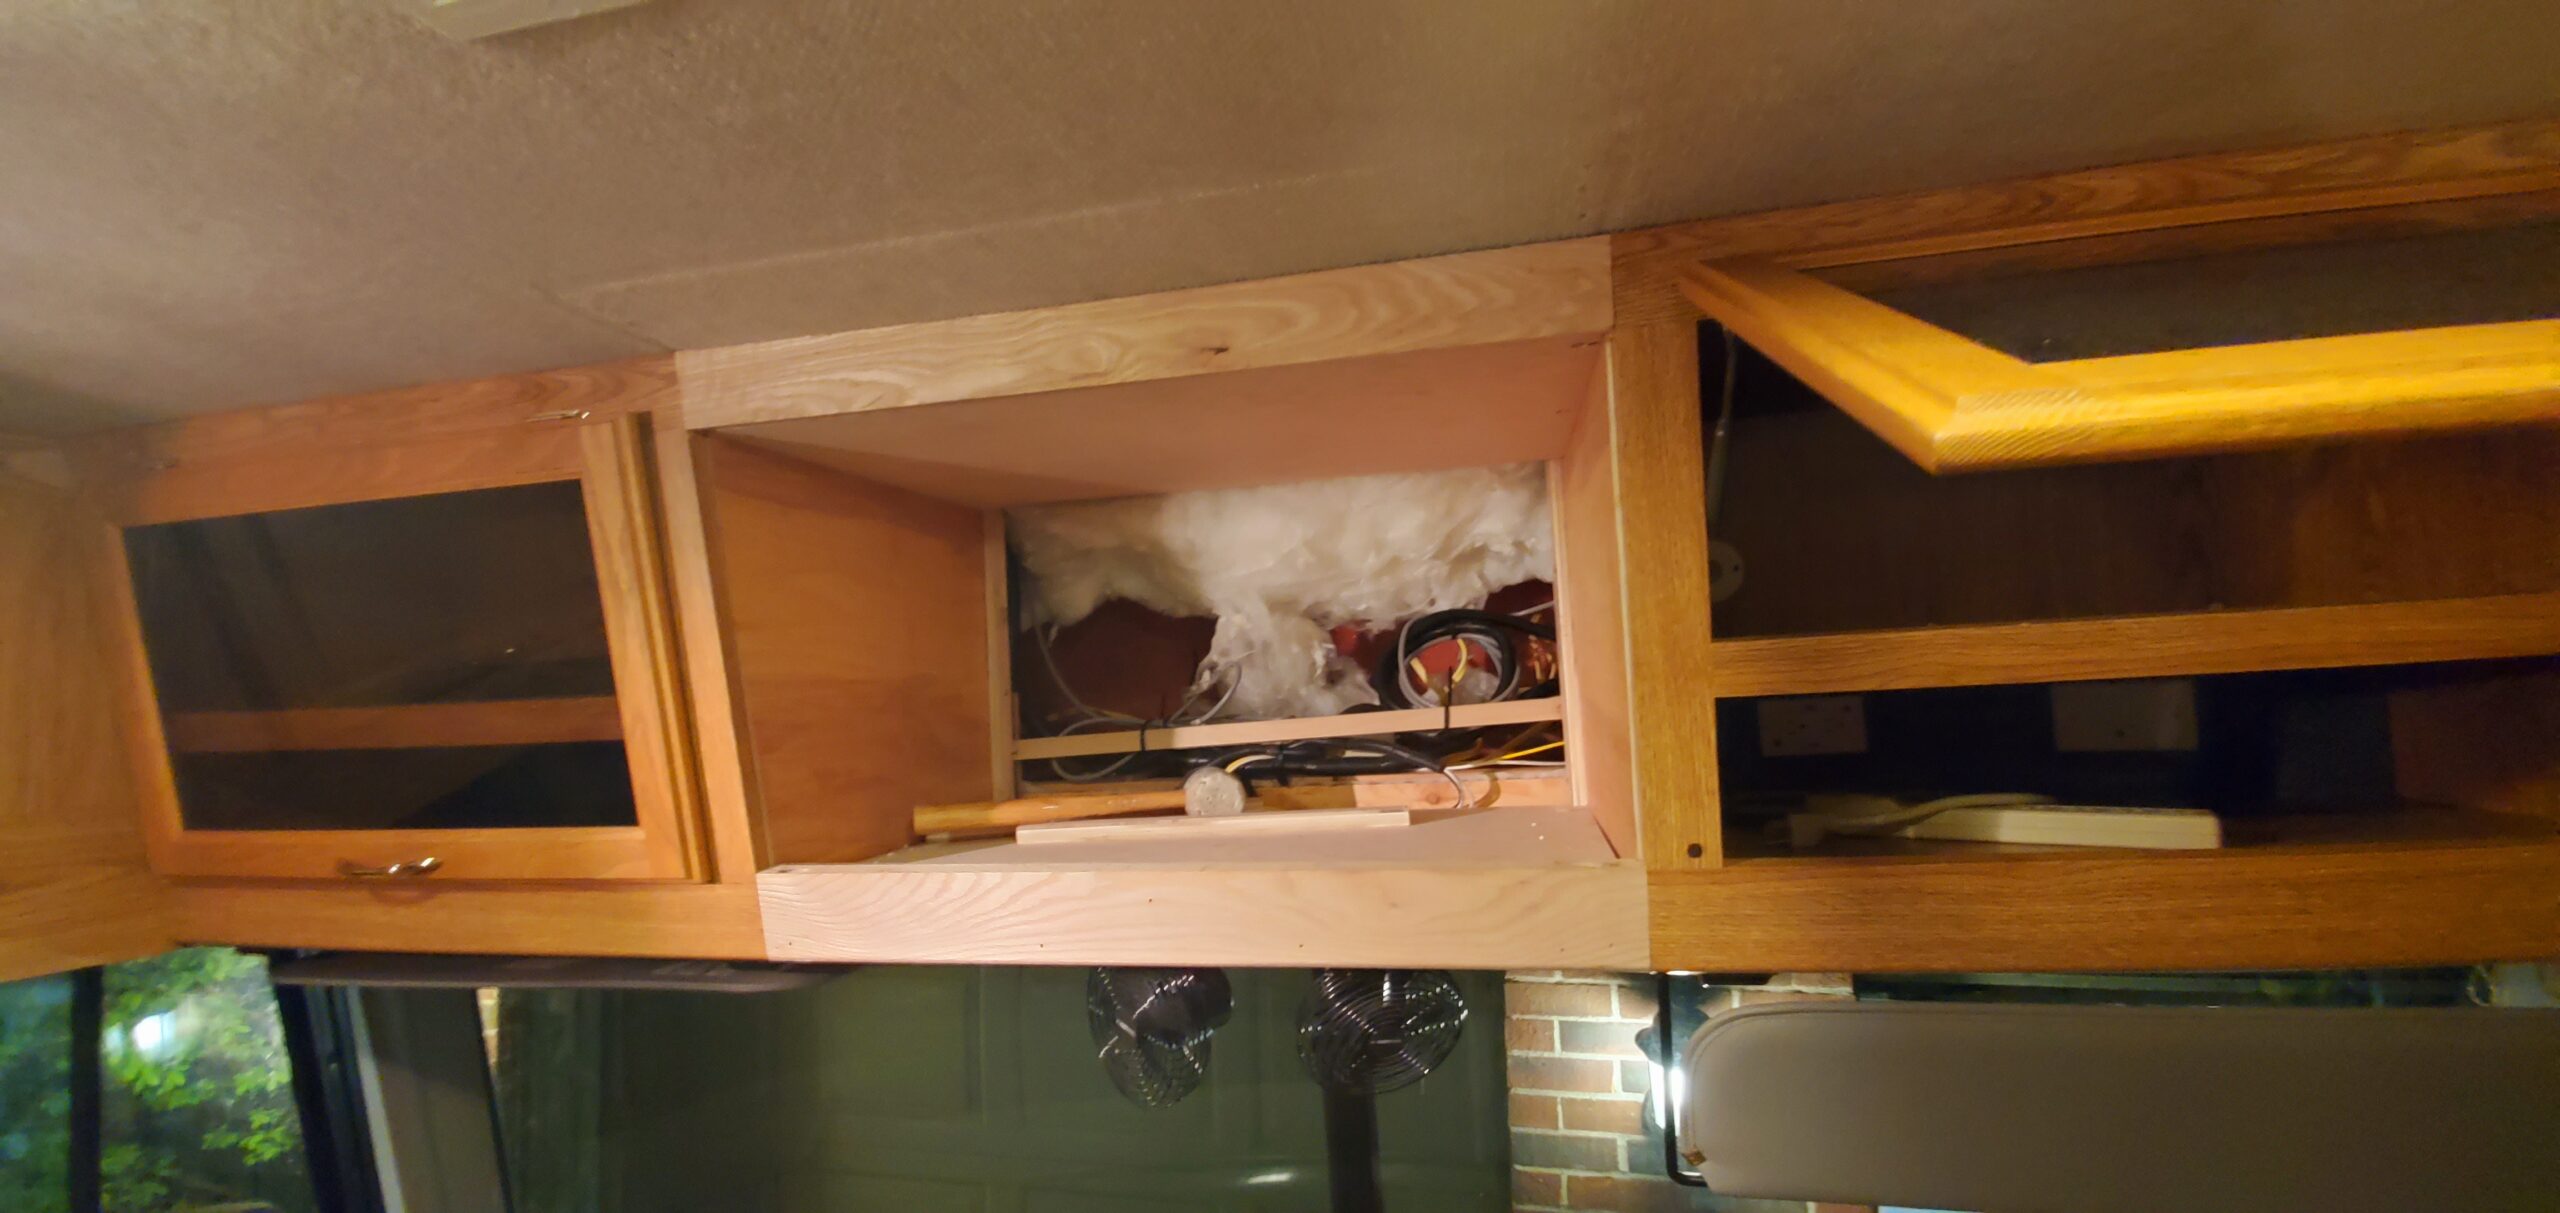
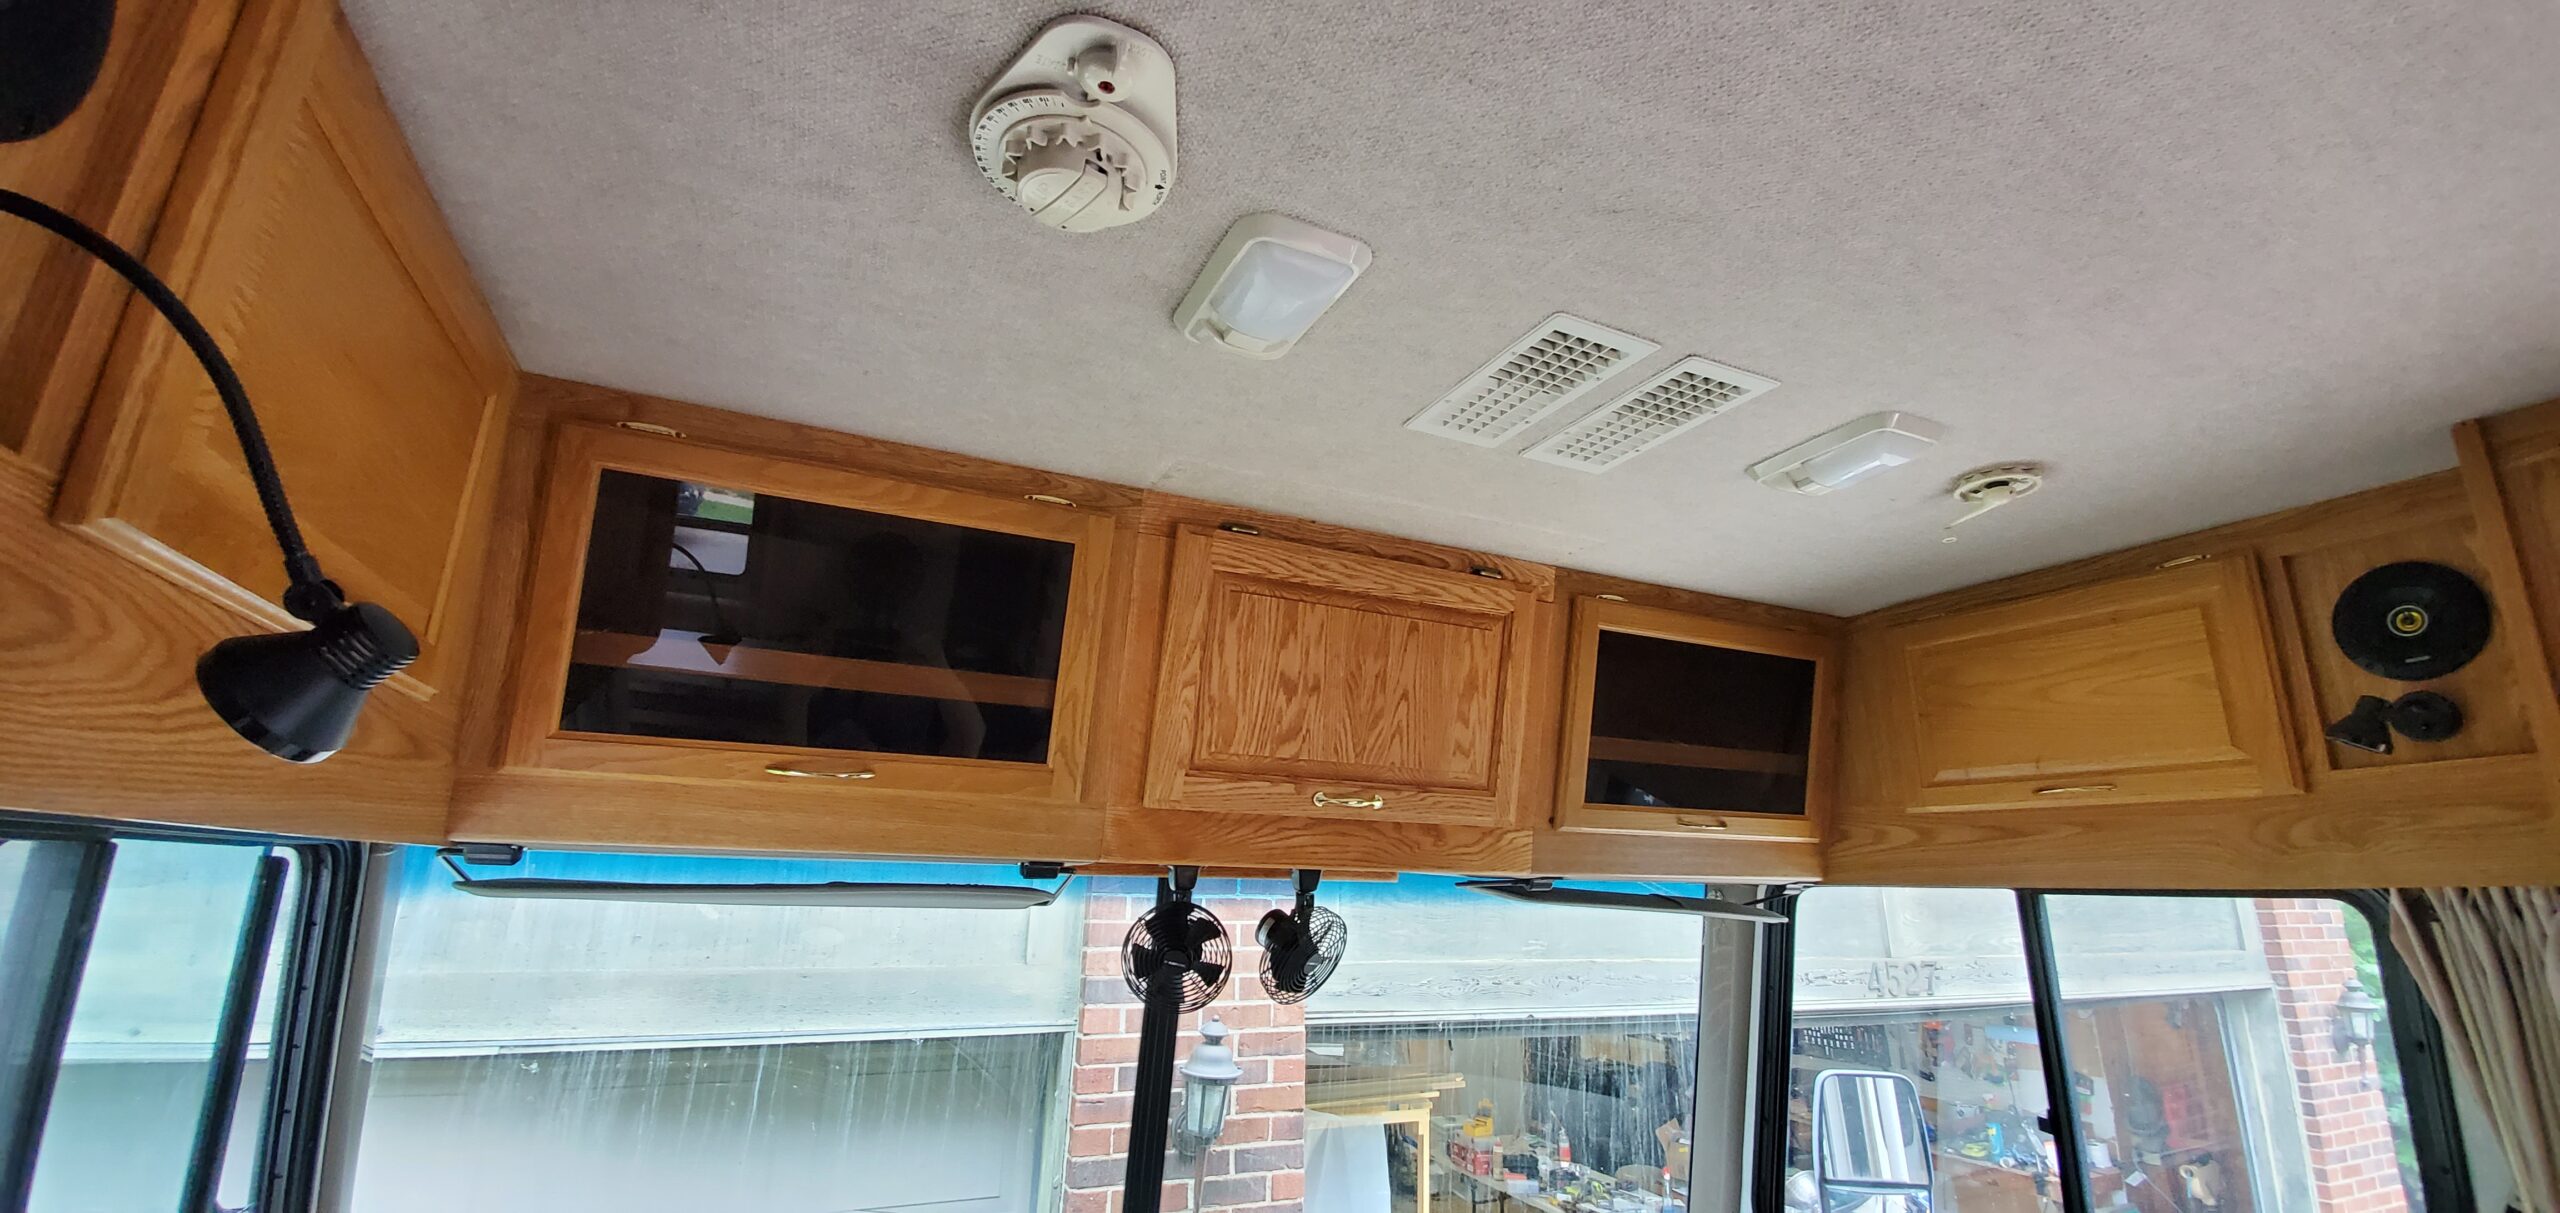
First off we needed to remove all the excess mounting hardware including the bottom of the TV cabinet (holding the two fans underneath) and clear the space. This is a good time to eliminate any wires you no longer need and clean up the routing a bit.
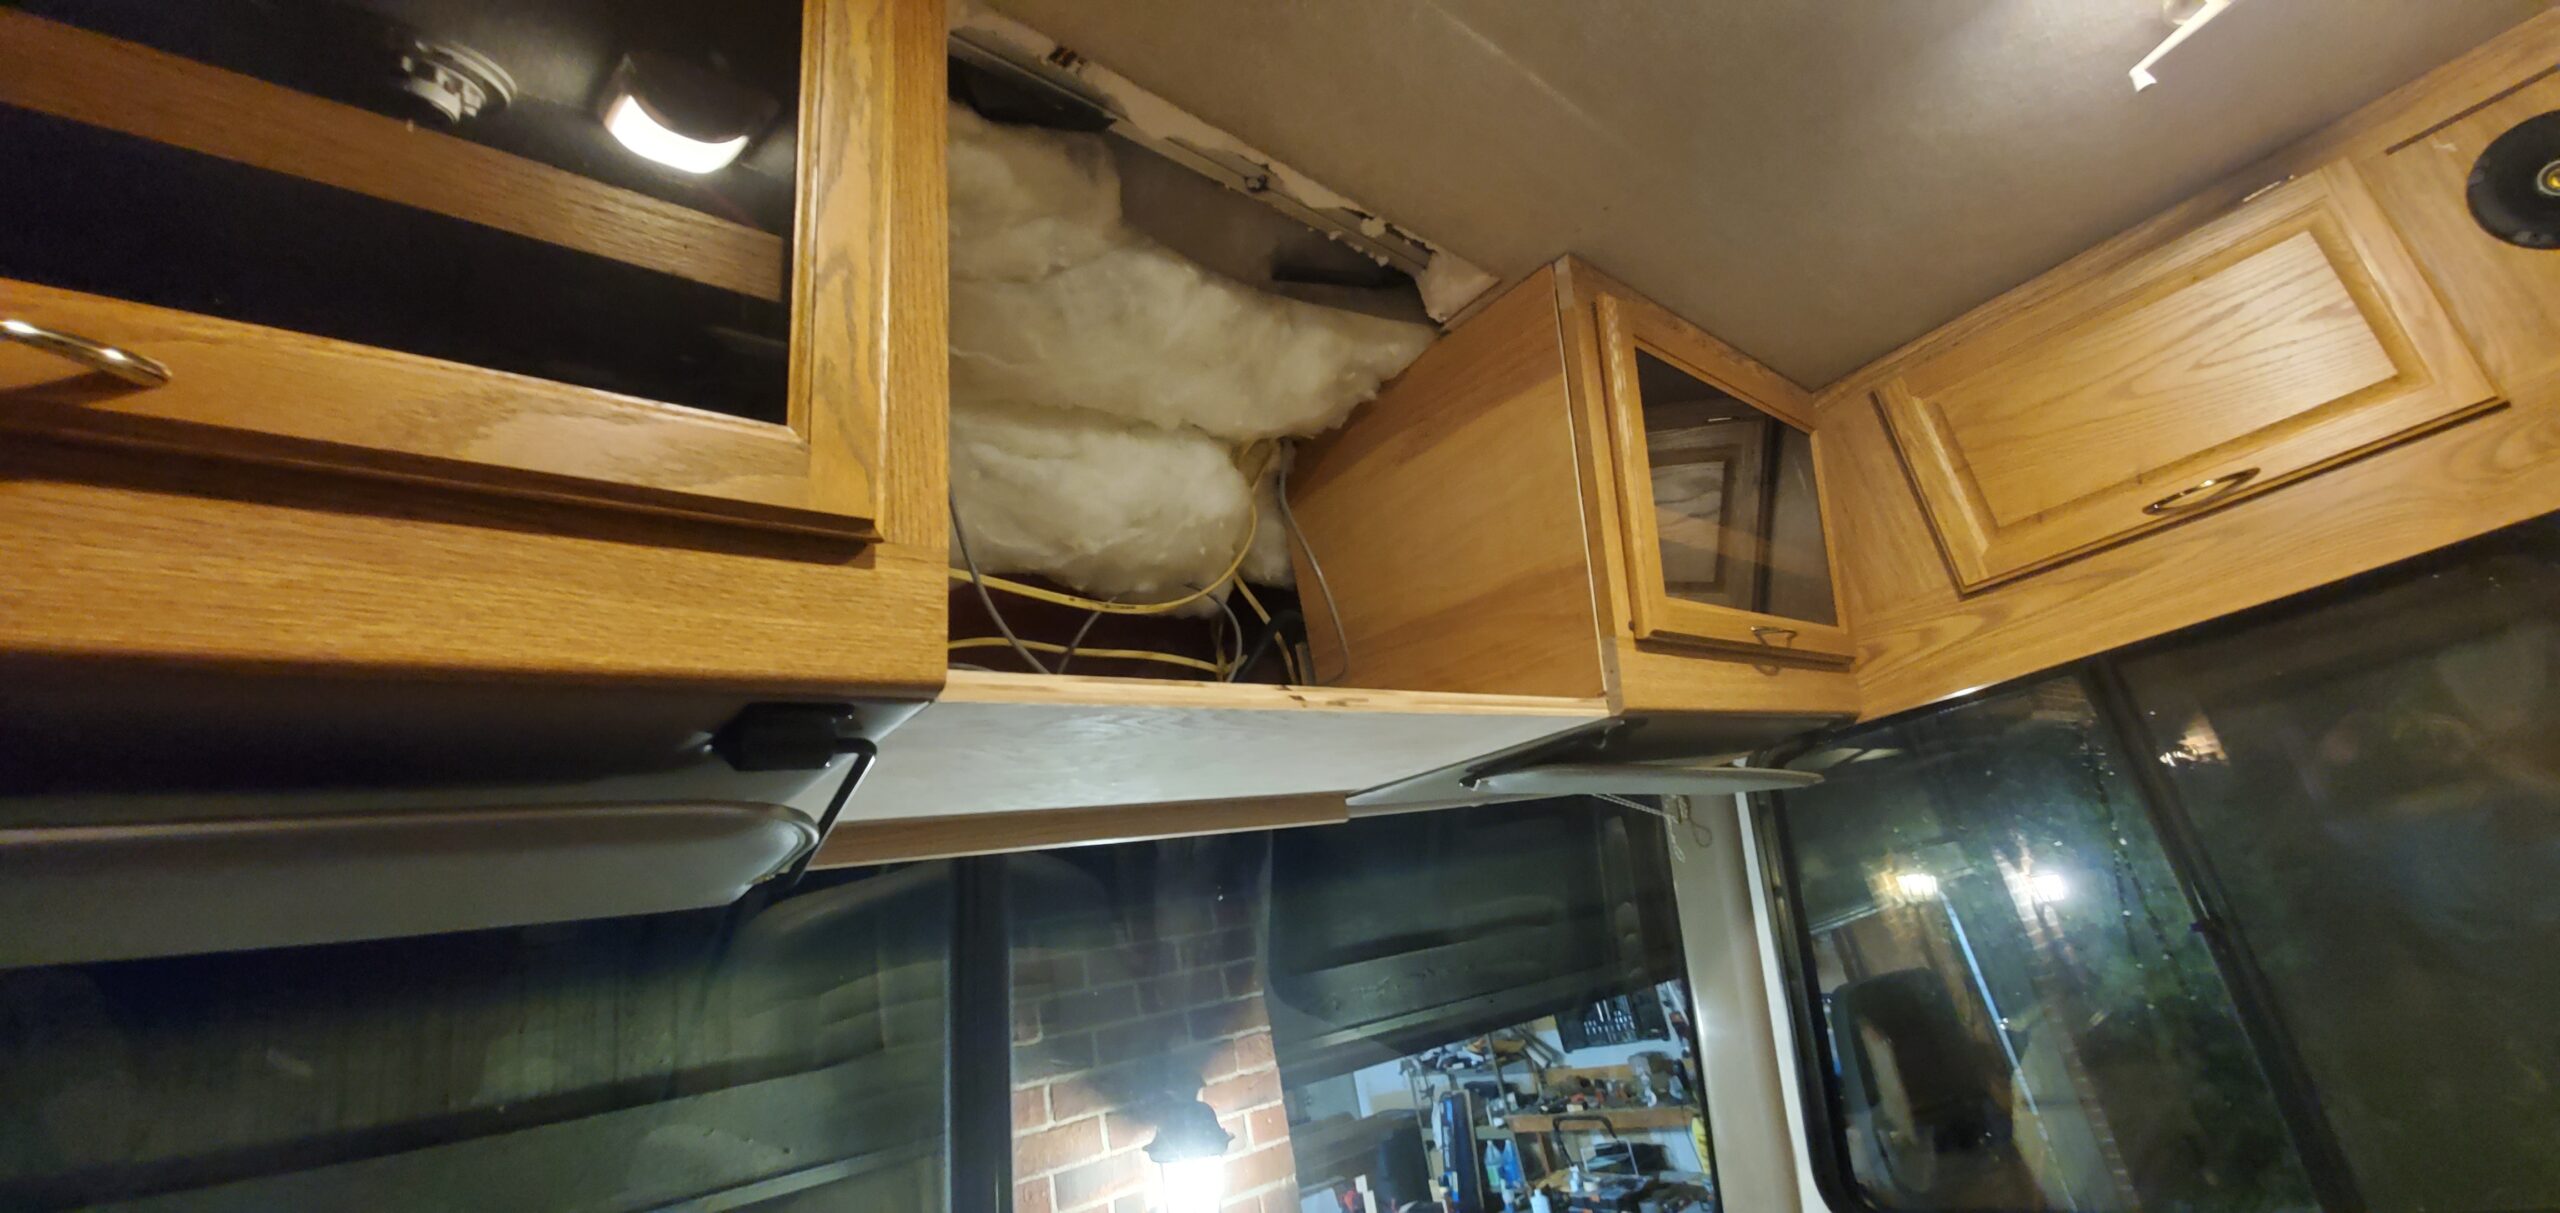
Start on the bottom
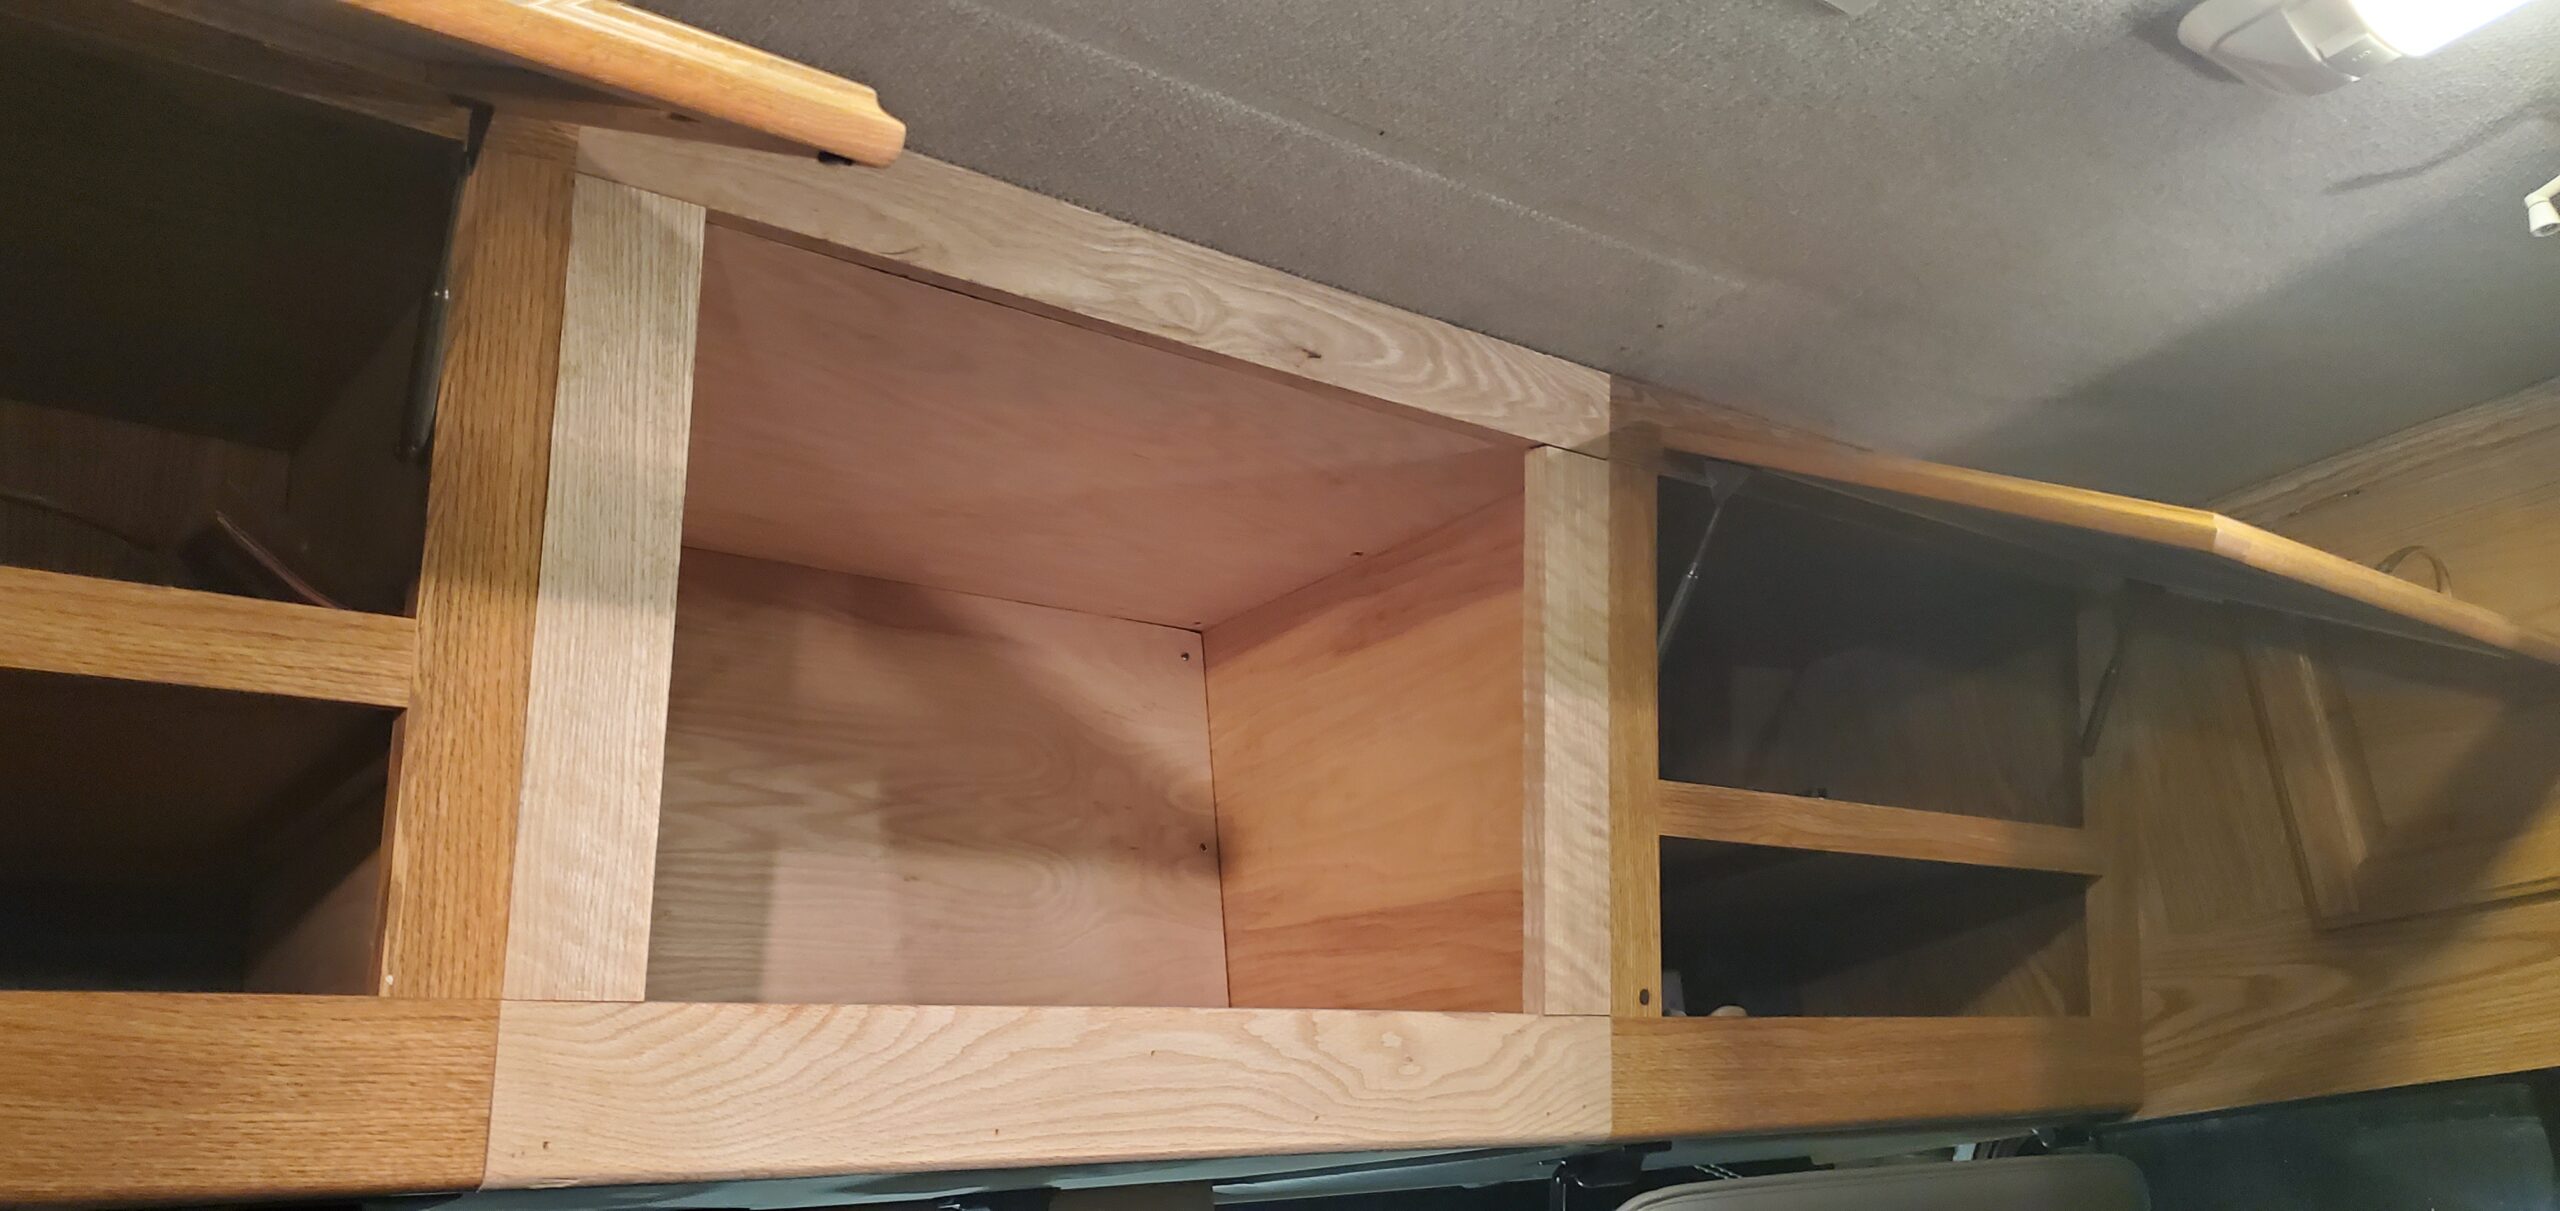
The first thing I did was close up the two shelves with 1/8″ ply on either side. This will, once again, provide three separate storage spaces.
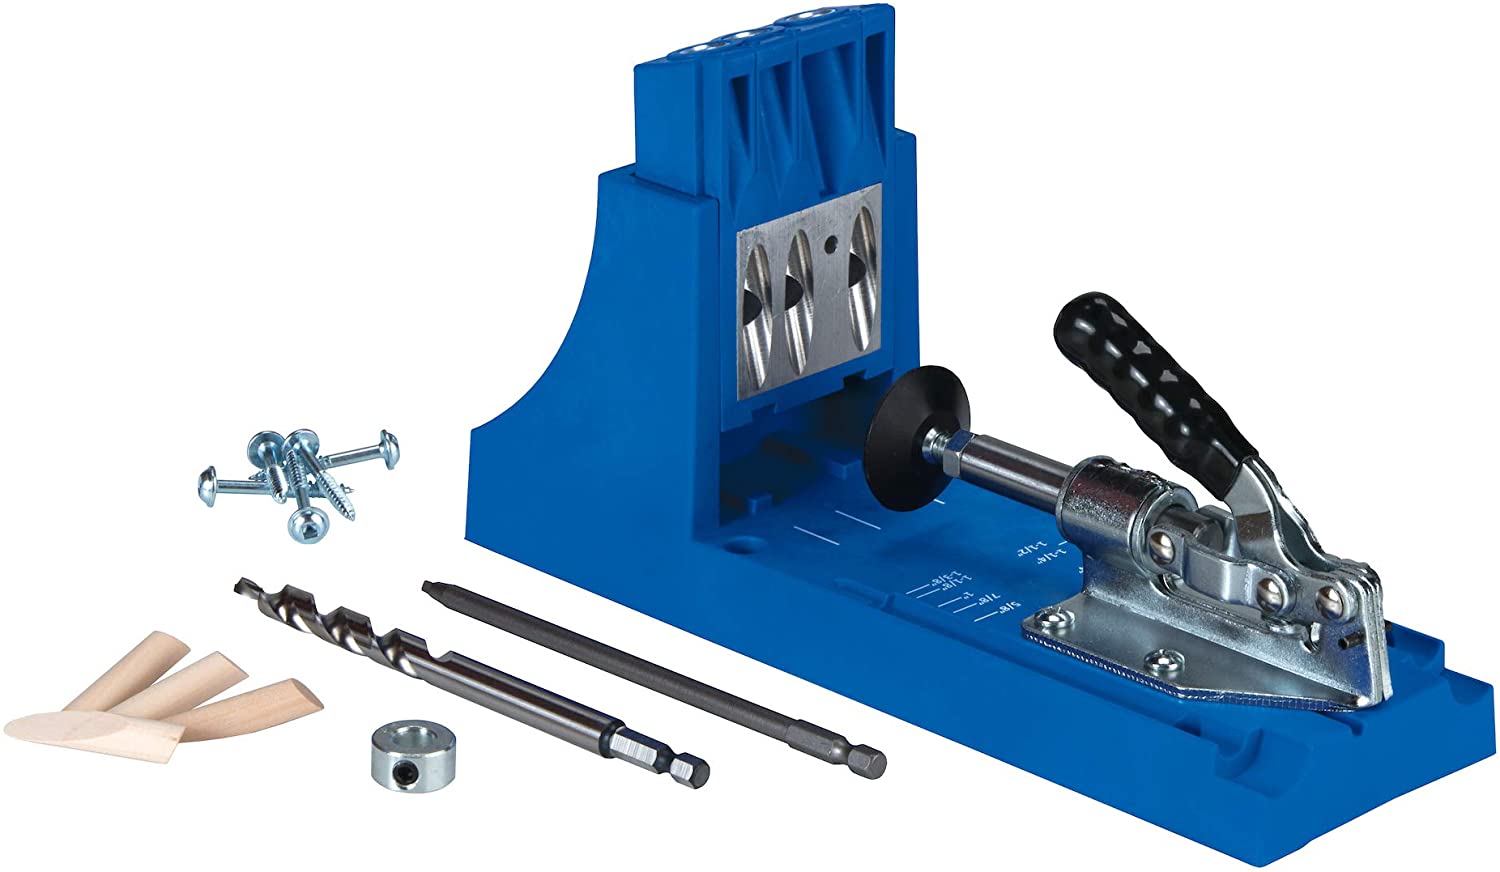 Next, I mounted was a 3/4″ oak ply on the bottom of the new cabinet. I used Kreig jig (Home Depot) to drill pocket pocket holes in the ply so I could screw it solidly into the cabinets on either side without showing the screws.
Additionally, if you look at the photo closely, I mounted a 1 1/2″ solid piece of oak that was routed round and sanded to the front of the ply to give it a “finished” look when viewed from outside the windshield.
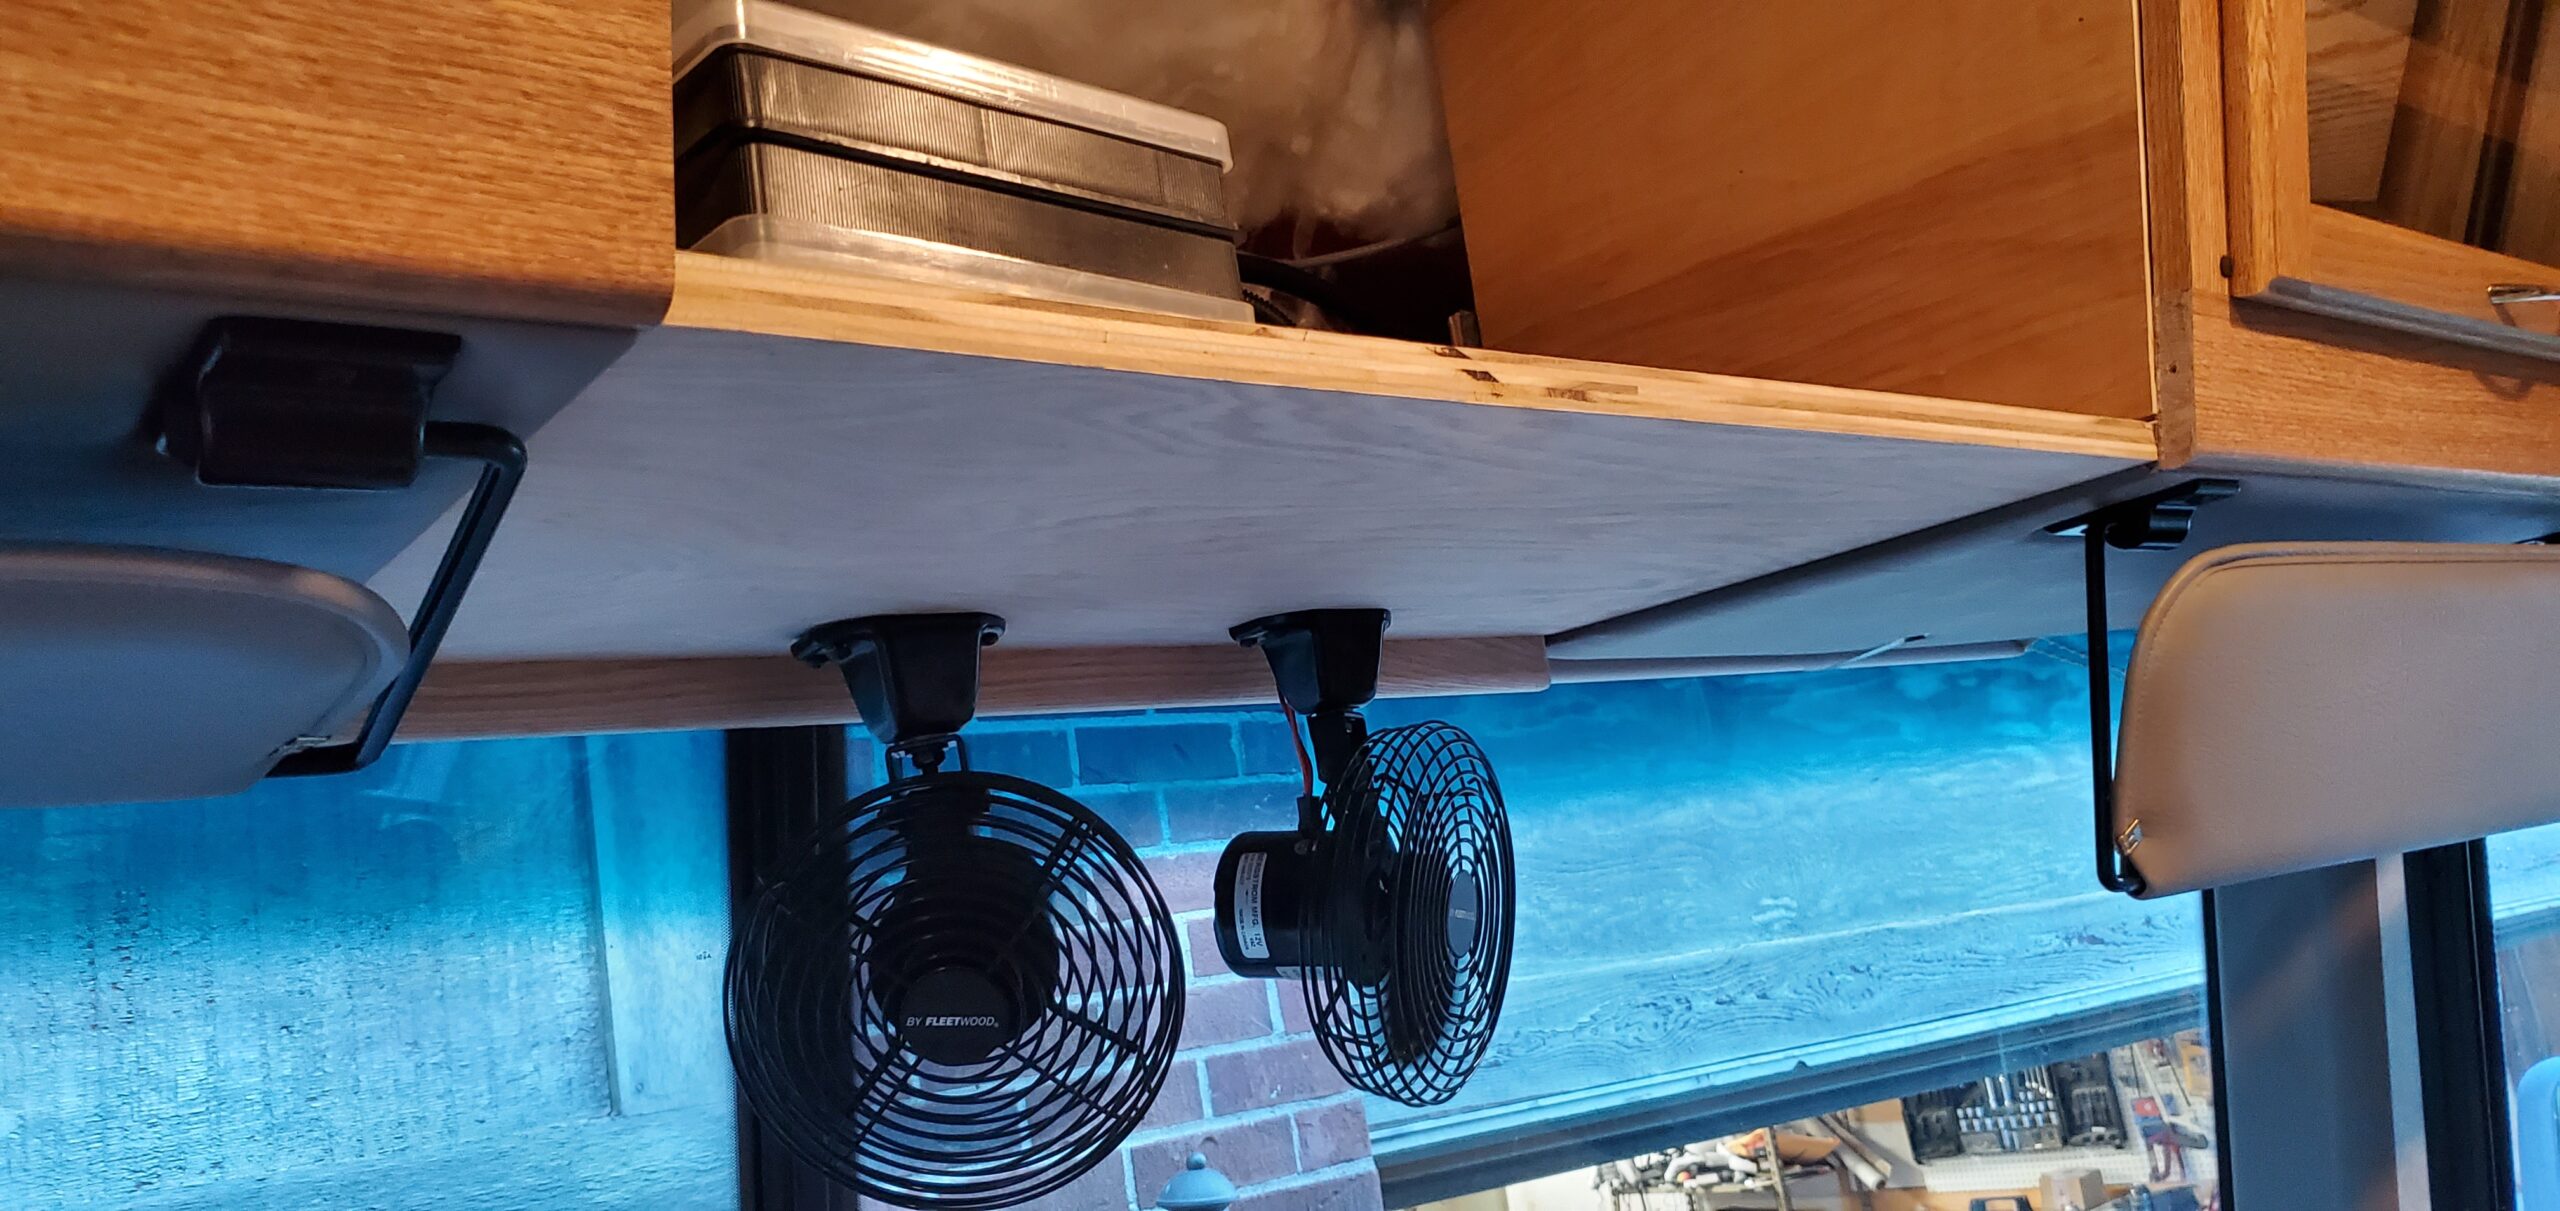
Fans reinstalled
I remounted the fans in approximately the same place they were originally. Again, trying to maintain that “factory” look.
The lower shelf needed to be a thick to hide the wires from the fans and to match the other cabinets so an additional 3/4″ piece of ply and a solid 2 1/2″ piece of oak to front it was added:
Covering the hole
Bottom and top complete
I used a piece of scrap wood to cover the hole in the ceiling where the extra TV support was bolted. I also pushed into the gap some additional insulation. Scrap wood braces were added on either side to both support the wood covering the hole and to provide a mounting area for the ply I planned on putting at the top. I made use of the Kreig jig again to mount the top and bottom pieces of ply. If you look close you can see the pocket holes (to be filled with wood filler).
Everything but the back and side molding.
And again, I added braces to the rear (glued in) to provide a stop for the rear piece of ply.
I wanted to be sure to be able to remove the rear plywood in case I need access to the wires or for whatever reason to access the front, top of the rig. The screws are exposed and readily serviceable.
Framed and ready for the door!
This is the completed cabinet (sans door) with the rear piece and side frame in place.
I decided to not try to create a cabinet door myself and rather to order one online. The site I used was https://www.fastcabinetdoors.com/. They appeared to have the best prices and the doors seemed to match the rest of the doors in the rig. I gotta say, they did a great job. I had the door in about 10 days.
The completed cabinet
The hardware to mount the door is readily available on Amazon and a little stain and finish and the job is complete! All in all it took about a week (a couple hours a day) to get it all done.
7 comments
Nice job,better than factory
Thank you! A fun job for sure.
How did you get the wood grain finish on the new cabinet door? I went to the website and they seam to only do MDF unfinished or painted. Thank you and great job. I am thinking about leaving the box as is and adding a shelf.
Yikes, I put the wrong web site on there. The correct one is https://www.fastcabinetdoors.com/. See if that helps.
Hey Jon, I had a similar thought, when I took my boat anchor of a tv out, my thought was now I have a place to mount A/V rack for a home theater system and network components. I installed a 5.1 Marantz HT receiver with two zones that also drives a pair of speakers outside, a wifi router and Dish network satellite receiver in the space. I finished two pieces of oak for the bottom and front panels, added led lights to the bottom panel over the dash and mounted a 27″ lcd tv to the front. The tv is fits nicely between the cabinets and all the electronics are out of sight. Thanks for building this project archive, great idea!!
I’d love to see your results. You are welcome to do another article here and show your photos and share your experience. It would be great to see alternatives!!
[…] above the captains chairs: Custom cabinet instead of TV You can view the cabinet process here: The Big Hole Above the Dash Electronics/Entertainment2 Comments on Hidden Television […]