

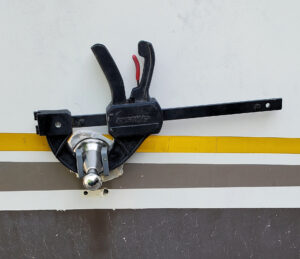
I believe most of us have a door holder similar to the one shown below:
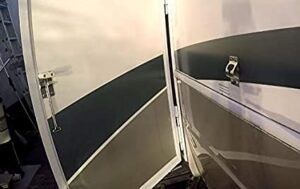
Not my rig (I wish it was 🙂 )
I hated mine from the start. It is a bit cumbersome to use an always just felt awkward latching and unlatching. Surprisingly (or maybe not so much) this high-tech solution hasn’t changed much in the last 30 years.
Stainless, Magnetic Door Holder
I saw this online and thought it would do the trick and has to be much more elegant than the factory solution. This door holder is not only magnetic (no more fumbling for the latch) but has a “soft latch” in that it is spring loaded to catch your door smoothly.
Note that this is NOT an RV rated holder. It is residential, but being stainless, I think it should be able to hold up to the weather. If not, it’s not too hard to replace.
Removing the Old Door Holder
Unfortunately I didn’t think far enough ahead to take photos while removing the old holder but I think it is pretty easily described.
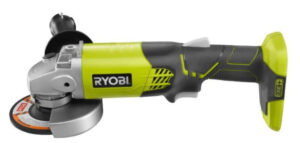
Angle Grinder
The old door holder was mounted using rivets which is understandable since they didn’t want to run bolts all the way through the wall. The rivets are relatively easy to grind off with an angle grinder or Dremel. Once you grind them down, the holder will just pop off. Push the “stub” of the rivet through the holes and seal the holes with whatever method works best for you.
Mounting the new holder
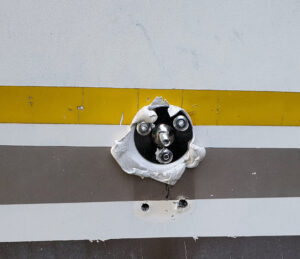
Stem Mount
The stem mount of the door holder consists of a simple bracket with a bolt in the center. The bracket is mounted in three places by rivets and is sealed with butyl tape.
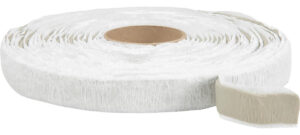
Butyl Tape/Putty
Once the mount is in place you simply screw the stem onto the protruding bolt. I used more butyl tape to seal it.
Tightening the Stem
Since the stem is made of stainless steel, it is a bit hard to grasp with any pressure. Using a regular tool like plyers would scratch it. I opted to use a wood clamp to provide the pressure necessary to get a good tight grip.
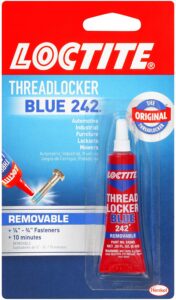
Loctite
Additionally, I used some Loctite to try to ensure that the stem does not loosen over time.
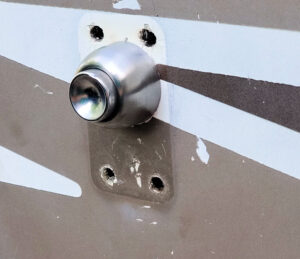
The procedure to install the receiver was essentially the same as the stem: rivets, Loctite, wood clamp.
All Done!
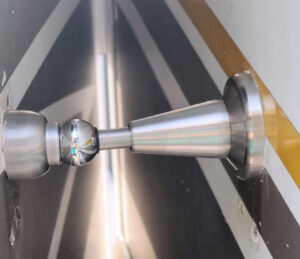
I am very please with how this came out. I still have holes to fill and a little touch-up but it works great! A vast improvement over the original.
Here is the Amazon.com link to the door holder:
https://www.amazon.com/gp/product/B01J7M9X68
2 comments
How did it look after you filled the hole?
I haven’t yet. I did it late in the season and hadn’t gotten to it. This year is exterior conditioning. Painting, cleaning, etc… so I’ll do it then.