

So this is my first article for this site. Sorry there aren’t more pictures, i’ll try to better next time lol.
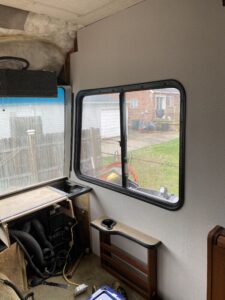
So I decided to address my water damaged area on my 2004 35E. The damage was from a leaking window where the water from the gutter would hit. The leak was fixed for some time but the damage had been done. After things dried out the wood started to turn into powder and the wallpaper was ripping. Also the wood blocking for the outside mirror was like a sponge and had no support. I actually almost lost my mirror on the highway last year.
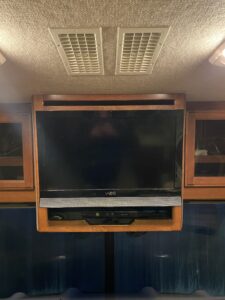
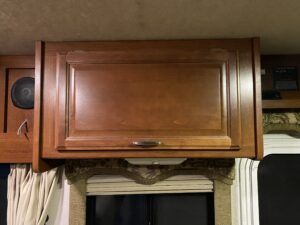
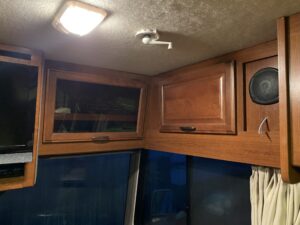
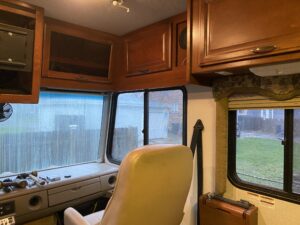
The first step was to expose the damaged wall. I first removed the curtain, curtain stay, roller sun shade, seat belt, seat, cupholder/magazine rack and window trim. The next step was to remove the center tv unit. This is held in by two straps, four screws in the ceiling, and multiple screws going sideways into each entertainment storage cabinet. I also clipped the wires going to the fans. Once that was removed I started on the top cabinet behind the passenger seat. This one I had to remove the inside panels to gain access to the screws and remove the wiring for the plug and the light. there were screws going into the ceiling, wall, the shelf above the door and the cabinet above the passenger window. Next was the passenger entertainment cabinet. This one I also had to remove the top panel inside the cabinet to gain access to the screws. There are also screws hiding on the front of the cabinet facing the windshield. Lastly there are three screws hidden up inside the nose cone are that take some reaching to get.
I had to remove all the inside trim around the windshield and the dash pad. To remove the dash pad you have to remove a bunch of screws from underneath. This required removing the IP cover and the front vent covers.
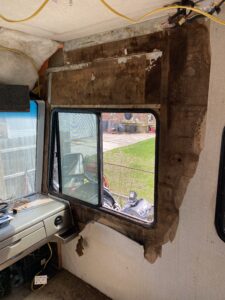
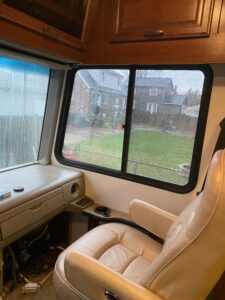
Now that the wall was exposed i found an area far enough back that wasn’t rotted and scored a line with my knife so that when i pulled things off it didn’t go further than i wanted. The wood pretty much fell off when pulling the wallpaper. The walls consist of the fiberglass outside skin that glued to 1-12 inch foam and then the 1/8 luan. For structure there is aluminum tubing, kind of like the 2×4’s in a house. I found the center of one tube and used my multi-tool and cut a straight edge for the new wood to seam against thats solid. there was some excess wood left and glue that needed to be removed. Using a scraper and an orbital sander I was able to get the whole area flat as possible. I the used 3/4 pressure treated plywood doubled up to replace the blocking for the outside mirror and glued that in with strong caulk. I then measured the location for my window cut and seat belt bolt hole locations for the new panel. Once everything was cut and drilled i then rolled contact cement on the wall and the back side of the new wood. once the glue was tacky i carefully placed it on the wall and lined everything up. I then used a roller on the whole panel. Once everything was set up I installed the new wallpaper. I couldn’t find the exact patter wallpaper as the original so i just picked something I liked on amazon. I found peel and stick paper and ordered enough to do the driver side too so it would match and look purposeful. Once the paper was installed I just assembled everything in reverse order.
1 comment
Can you add a link to the wallpaper you used? It looks great!